Sunday, January 1, 2017

Warhammer 4th Edition Battle Recap

Over the holiday break we managed to finally play a game of Warhammer 4th edition. I've been wanting to do this for some time and my cousin came up with his in-progress Bretonnian army. It's been around 15 years since I had last played a game of 4th ed - it was released just when I began the hobby and it will always be my favorite. It's my version of Oldhammer. 

We played Dwarfs vs Bretonnians. This post isn't much of a battle report but instead a very brief recap with mostly pictures.

After playing tons of games of Age of Sigmar over the last year, it was strange to have a board set up with minimal scenery and an open center.   For a variety of reasons, we didn't use any magic for this game.
Yes, that's part of the Mighty Fortress

We also used the old-style "concealed deployment".  Box tops down the middle, set up in "secret", then reveal the deployment of both sides.  By far, this is my favorite way to do deployment for Warhammer for pitched battle-type scenarios. Alternating units, or "unit drops", just isn't as much fun. 


Most of the pics we have are deployment shots.  As with most games, we got very distracted by the actual game and didn't take many pictures after the 2nd turn...


We were using mostly 4th ed rules but the first Bretonnian Army Book didn't come out until 5th edition.  But those editions were almost identical (almost).  It was good enough for us. Plus, my cousin's army had Bretonnian units from across many editions: pegasus knights, King Louen on a hippogriff, trebuchet.  We just cobbled together whatever rules we wanted and it worked just fine.
You can see in the pictures that there's the original Bretonnian lance formation in an actual wedge.

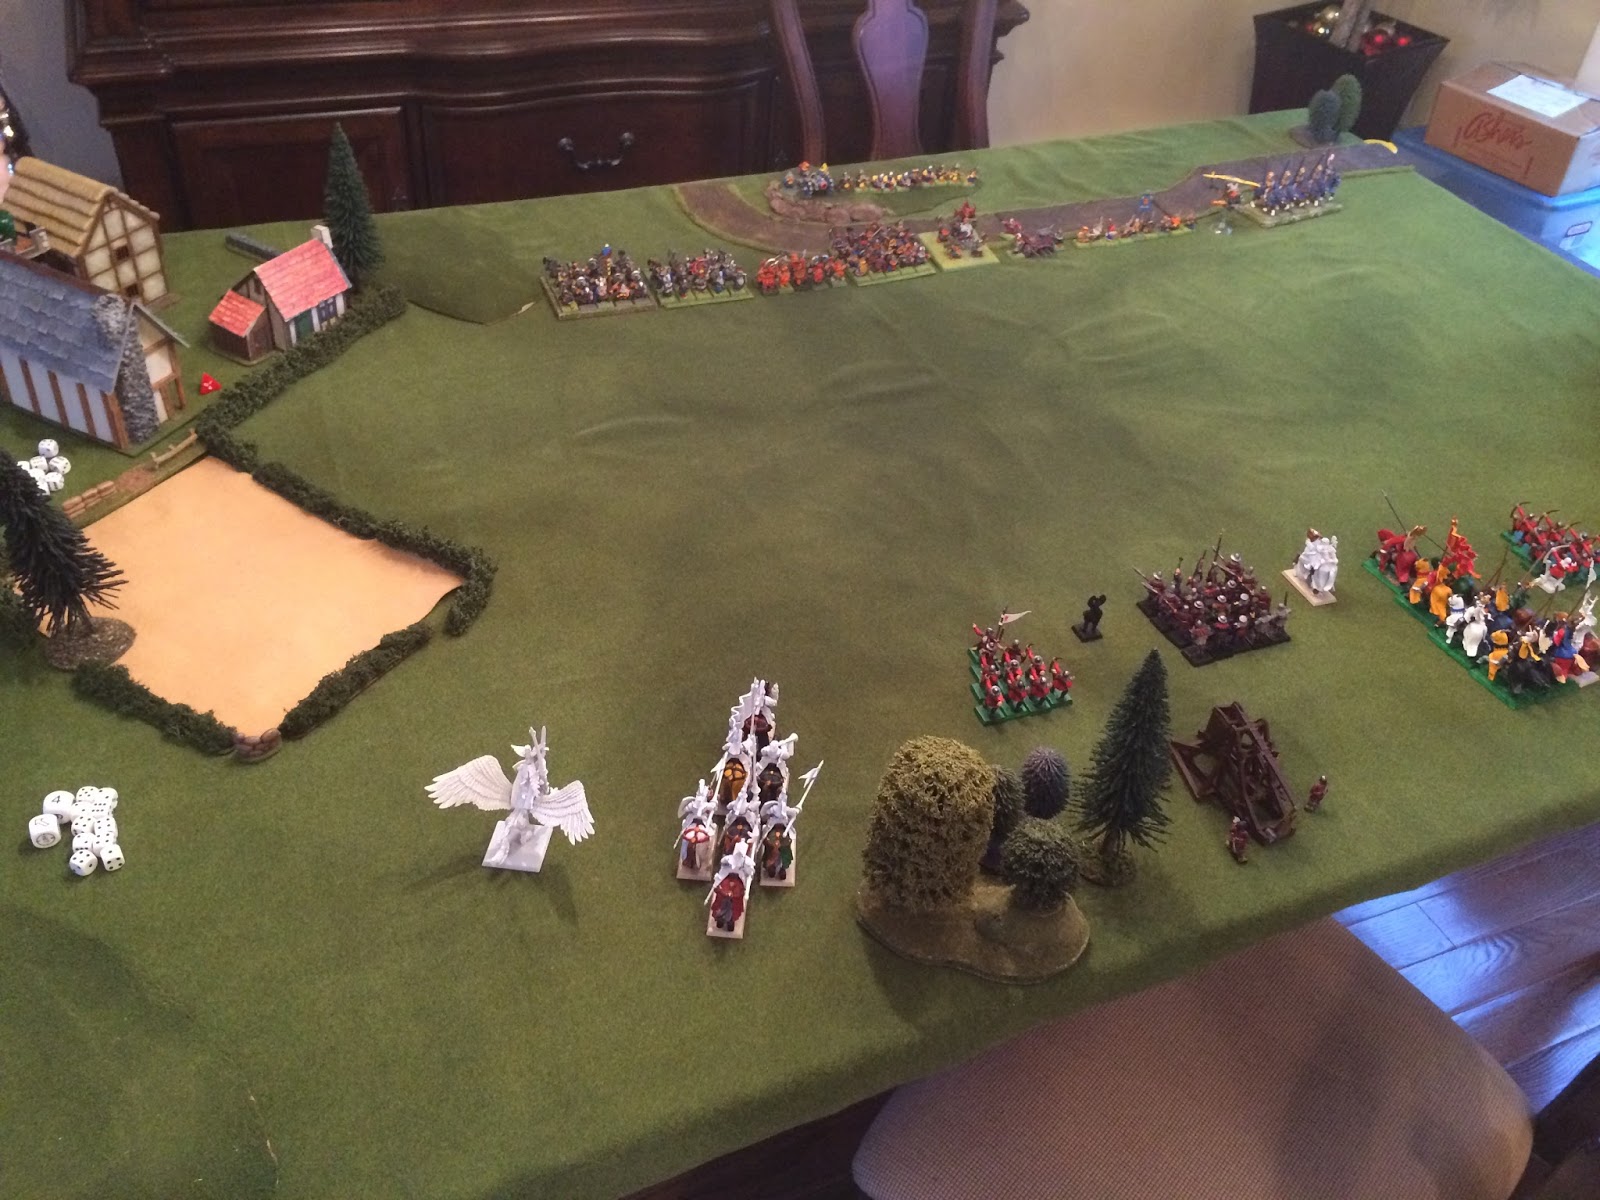
ignore the ninja turtle waving in the background


very blurry picture, but you get the point

We used the original rule for Bretonnian prayers to The Lady, so the Dwarfs went first and needed to roll a 4,5,6 in order to fire cannons or missile weapons.  We realized after the game that since the Bretonnians also had a trebuchet, the background of that rule didn't make any sense - so we used the 6th edition version of that rule for Game 2 (later in the evening).

The next few pictures are turn 1 advances. There was minor damage from the cannon, organ gun, and missile troops (Thunderers and Crossbows).

Another interesting rule that I totally forgot about was "Flying High".  Way back in 4th edition, models that could fly could decide that the start of their turn to "Fly High".  This took them off the battlefield for an entire turn, but then on the next turn (or a subsequent turn of the player's choosing), the model can swoop down anywhere on the table including charging directly into combat.  It adds a very fun and unpredictable aspect to the game, but it definitely made flyers very, very powerful.  In fact, if memory serves correctly, this rule was eliminated in 5th edition and never returned.  Either way, we were playing 4th, so the rule applied!  The Brets immediately had the King on Hippogriff and the Pegasus Knights Fly High on Turn 1...everything else advanced.

Top of turn 2...The dwarfs unleashed some cannons, probably failed a few "permission" rolls, and generally continued the slow, pondering advance that Dwarfs do, anticipating the inevitable Bretonnian charge.  Also, on the far left flank, the Empire allies of Knights Panther continued their flank sweep.

...and BAM, the Bretonnians slam home on Turn 2.  The King landed into combat with the Hammerers, the pegasus knights hit the Thunderers, and the two lances slammed home.

Amazingly, the thunderers won combat and forced the pegasus knights to retreat. The lone Bretonnian lord on horseback beat the center clansmen forcing them to break, but the smaller lance unit lost combat to with the High King Thorgrim on the Throne of Power, and they broke, forcing the lord to run as well.  The lance had been decimated by organ gun fire and a blast from the gyrocopter steam cannon, and they didn't have much left.  Also of note, the Hammerers somehow won combat against the charging King and he fled off combat as well.  The flanking lancers beat the clansmen anchoring the dwarf right flank, they broke, and the ran them down.  The dwarf line was in deep trouble  - the lancers could easily roll the flank from this position.

Steam blast!
 A few more shots from above (same turn)

lots of picture from Turn 2

Can the Knights of the Realm turn the flank?


Over the next turn (or two), the hammerers and knights wheeled around, and the Hammerers managed to charge the Knights, grabbing the initiative...

...but..they were so surprised at actually getting to charge a knight unit that they all whiffed, and the lancers broke them in combat.

We were in the End Game now, and King Louen decided to avoid direct combat with the High King, instead landing at the crossbows.

The high king turned around, basically stranded in the center of the board and running out of time...
High King wanted combat..but King Louen declined...

Turns 5 and 6 were mainly both sides trying to break smaller units and take control of table quarters.

The game was over - we tallied up the victory points using the 4th edition Victory Point chart. The best part about the 4th ed chart is that it's so small.  Not a lot of basic conditions.  The end results was a close win for the Dwarfs: 16 points to 15 points!  The end result was a perfect representation of what the battlefield looked like.  It was a close bloodbath that could have swung either way.

The game was great fun and reminded my why I fell in love with Warhammer back in 1992 (or 1991, I forget).  The rules back then were actually pretty simple and straightforward.  If something wasn't specifically addressed, we had a quick chat and basically rolled a dice (which was always GW's intent for all of their rules).   The 4th ed rulebook is pretty thin, and sure the rules were a little vague and loose, but that was the fun.  It didn't try to address every possible situation and didn't have layer upon layer of crazy special rules and stipulations. The game was just fun. In comparison to the amount of AoS we've been playing, it was the same amount of fun, and felt like a fantasy wargame (not predictable chess that WHFB became later).  I definitely prefer the ease and speed of AoS and the look of the table with lot of scenery, and I love the warscroll idea where you just look at the stat-line and know what you need to roll (no charts, etc.).  But 4th edition will continue to remain a viable gaming option.

Sunday, December 11, 2016

Empire vs Orcs and Goblins

Played a game of AoS last night, but it was a bit of a turnabout: played at an old friend's house but the twist was that he taught me Warhammer back when 4th edition came out and now I taught him AoS.
Only managed to get pictures from deployment through the first turn, then I was consumed by the game and forgot to take more.
We used some basic army lists with no points, and a simple scenario I grabbed from Neil Thomas' fantastic book "One Hour Wargaming".  There were two objectives on the board in the corner quadrant of each player's deployment zone.  To win the game you needed to control BOTH objectives - this forced both players to play a little defense and offense.  But it really didn't matter as this was an intro game.

The objectives were - Steam Tank in the Orc deployment (opponent), and an orc Totem in the Empire deployment zone (my deployment).   Most of these pictures have pretty decent resolution so you can click and zoom in.


In the end, most of the action was on the Empire left flank around the Tower.  The goblins overwhelmed the extreme flank and the archers and halberdiers were overrun.  Not really a good outcome since they're orders were to advance across the board and seize the Steam Tank.  Only reason the swordsmen survived was because the Empire General was causing decent damage.  In the center, the Helblaster Volley gun was the VIP of the game causing massive casualties and reducing the very threatening Orc Boy Boyz to 1 model.  This forced the large black orc unit to march to their left and advance through the cover of the ruins.  The mounted Reiksguard Knights charged the unit to keep them away from the orc totem objective, but they got smoked.

We played to a timelimit of 2 hours and called the game after 3 turns. It was a draw, even though i controlled one objective and the Orcs none.  If we had gone another 3 turns the Orcs would likely have overrun the Empire army but the General an Helblaster were really doing some damage.

Overall, great game, lots of fun.

Sunday, November 20, 2016

Servants of Ra

We had a great game of In Her Majesty's Name last night.  The Rookie Wargamer recently purchased the Servants of Ra and we were eager get them on the IHMN board thus the unpainted Ra figures.  So we used the breakout scenario with a little bit of tweaking and some background to set up the game.
Background:
The Servants of Ra found a piece of the missing Regalia of Ra, Ramses' Lion Bow, in the manor house.  Not wanting admit that he was trafficking in illegal antiquities, the homeowner alerted Lord Curr's company instead of the local police.

Forces:
The companies were kind of balanced, around 190 points.  Since this was the first time using the rules for Mystical Powers, we only used one power for Professor Abir and one for Akhenaton.   But we decided for the scenario that Akhenaton could use the "found" piece of Regalia, so Akhenaton was also armed with Ramses' Bow.   This probably tipped the balance in favor of Ra, but we didn't care - it made the battle even more thematic.

Enough talking, onto the fight!


Setup - The manor house is at the end of the road, with the newly added chimneys on top.
 Small village on the family estate, with modernity encroaching.  But it seems that the estate's owners have embraced some of the steampunk advances in technology (large pipes providing steam-powered awesomeness inside the house).

 New archway added to the scenery collection.
 ...and a newly acquired clock in the town square ($5 at Michael's)
 Here's the deployment of the Servants of Ra.  Split into two groups - Professor Abir and the mummy, surrounded by some cultists on the left, Akhenaton and the remaining cultists on the right near the cemetery.
 Lord Curr's company dispersed on the other end of board
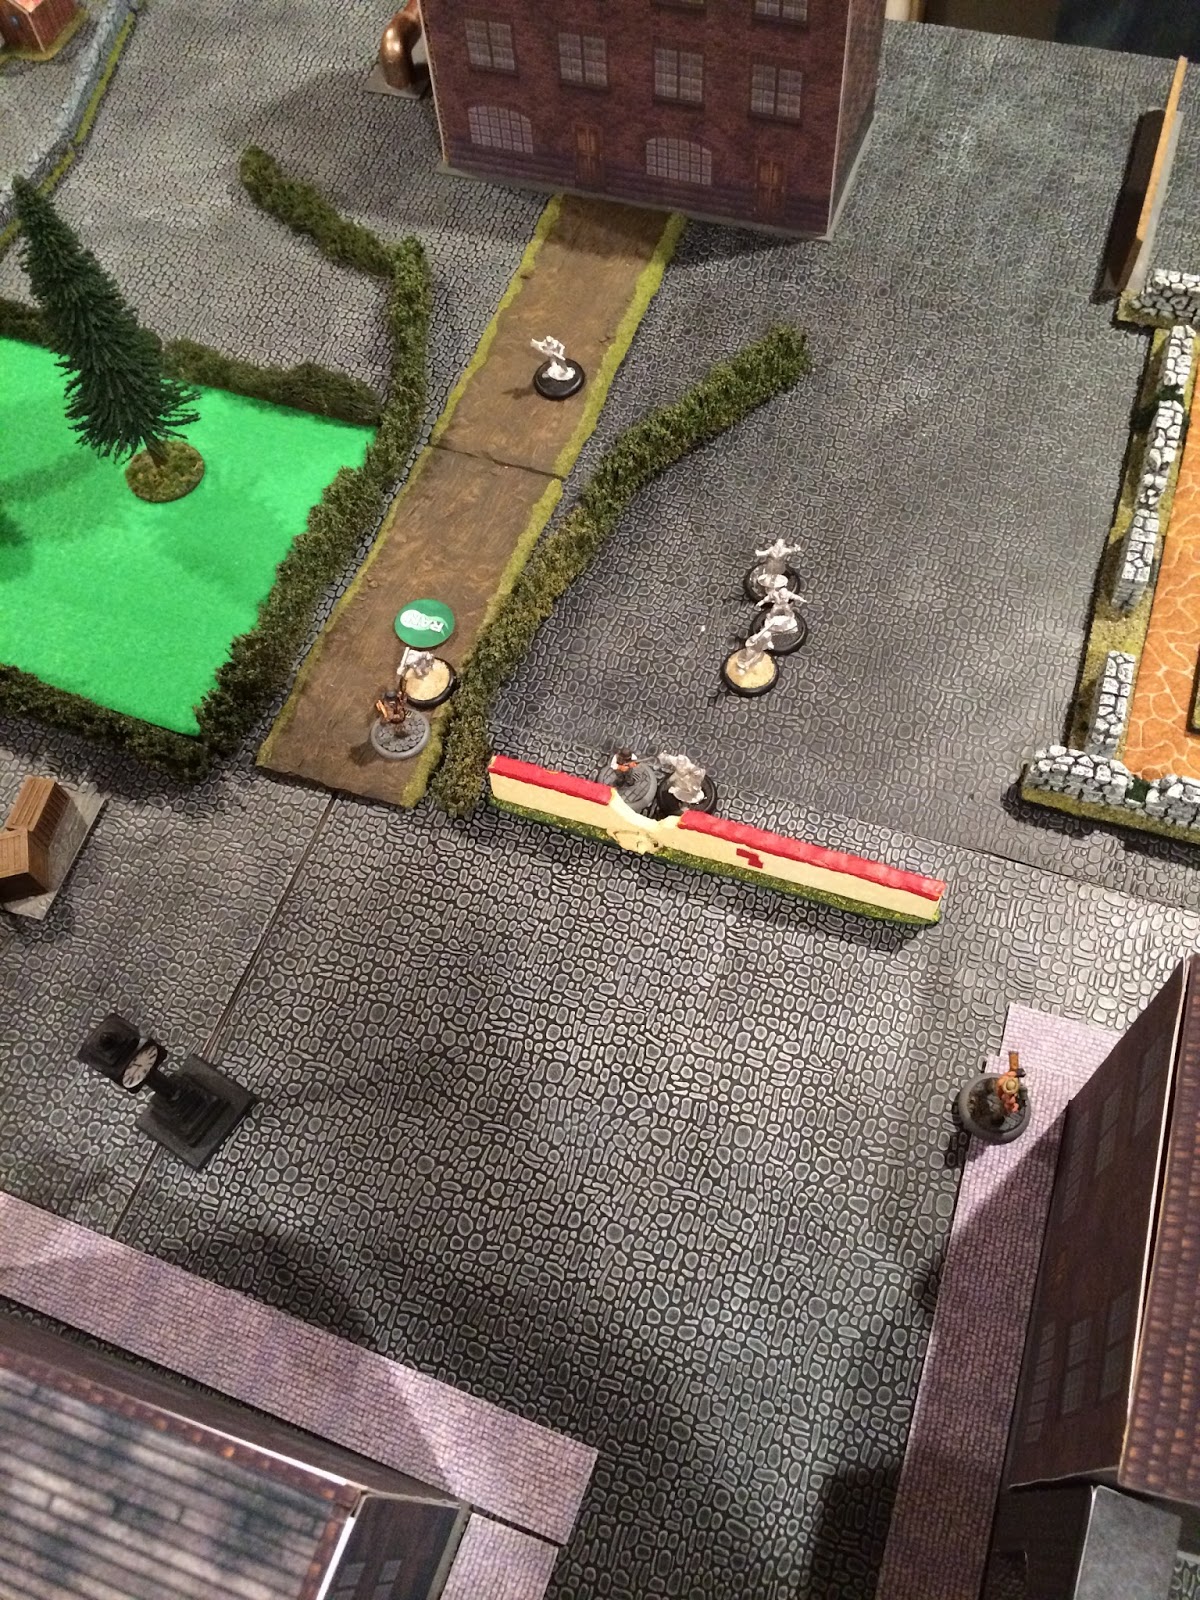
 The game has begun - an Incorrigible is stationed on top of the gantry taking aim.
 Lord Curr has advanced towards village and managed to take out a cultist with his Arc Rifle through the cover of the hedges and the Zone of Shadows that Professor Abir cast.
 The arrogantly confident Akhenaton causally strolls down the lane...he did this the entire game without any fear of harm due to the protection of the Immortal Oils of Horus
 Akhenaton takes out the blue coated Incorrigible with the Ramses Lion Bow.  Not seen here is Sgt Red Coat failing his attempt to jump off the gantry way and falling down.
 On the right alleyway, Purple Pants Incorrigible holds the flank with his shotgun
 The two leaders stare each other down...
 Mohan Singh approaches...after saving purple pants from a double-assault of cultist (not pictured)
 ...and comes around the corner of the wall and unleashes the machine gun.  But he's attracted the attention of the mummy!
 The mummy assaults Mohan, who quickly turns tail and runs away in terror!
 Lord Curr is surrounded, but one of his henchmen rushes to his aid
 Mohan has recovered his wits, but he's still pretty shaken - so shaken that he decides he need to just shoot the mummy regardless of how close his comrade is...
 ...and Mohan accidentally mows down Purple Pants, leaving the mummy unharmed!
 A final shot - Lord Curr's company of Incorrigbles have prevented the Servants of Ra from escaping with the Regalia.  Victory!
Overall, a really fun game with lots of fumbles, Mystical Powers, machine guns, and the mummy.  Having the background story gave us a lot of context, and allowed us to make decisions throughout the game that gave it a cinematic feel.   Failed dice rolls were instantly translated into the story.

Wednesday, November 2, 2016

Oldhammer Chaos Knight Conversion

I've finally gotten the guts to tackle the unfinished miniatures from my very first Warhammer army: Chaos. Back in 1992, I started wargaming when Warhammer Fantasy Battles 4th edition was released.  Reading the Warhammer Bestiary, I was immediately enthralled by the Chaos background and the idea of starting a Khorne army.  Unfortunately, there weren't many pictures of Chaos miniatures readily available, there was no Chaos Army book yet, and I didn't have any White Dwarf magazines.  I went to the local Games Workshop in Philadelphia, and was overwhelmed by an entire wall filled with rows and rows of blister backs.  I grabbed the ten-pack blister of beastmen (Marauder Miniatures), and a blister pack of metal chaos knights. The baroque look of the armor was amazing and the metal horses are still some of the best horse sculpts I've ever seen.  When I stumbled upon the classic Realm of Chaos Slaves to Darkness book, I finally had pictures to reference what a Chaos army might look like.  I was always too intimidated to try to paint those knights, though, and those Chaos rules and army lists were really geared towards 3rd edition.  Of course, then the Dwarf army book was released and I was hooked on Dwarfs. My Chaos army collected dust...

Over the years I picked up another Chaos knight on eBay, painted by someone else.  The rider also had 40K legs on him.  Specifically, the feet looked way too sci-fi to fit in with the original two sculpts that I have.
if you zoom in, you can see the boots


 I didn't have good legs to replace it with, but looking at the sculpt I thought i might be able to do a minor conversion of the feet, and cover the futuristic details on the legs with putty.

I realized that had a bag of some of the first plastic multi-part chaos warriors laying around - I never liked those models and had no intention of using them.  Sorting through them I noticed that the look of some of those feet matched the original look of the old late-80s style riders.  So, chop-chop time!  The hobby saw made quick work of the original feet.


...as well as the feet from the plastic chaos warrior.
boy these models were terrible

But the feet matched up perfectly!

look mom, new shoes!

I couldn't be happier with the match.  I'll update this post with the final painted product.

Friday, October 28, 2016

Battle of Brandywine

I finished these guys back in July 2016 but somehow forgot to post the pictures.

Small unit of militia from the 7th PA Regiment regiment at the Battle of Brandywine.  Figures are Eureka AWI Ragged Continentals. The flags are from The Flag Dude.  Photos taken using my awesome Folido 2 light box that Mrs Creepinduff got me for christmas back then.

American Revolutionary War is not really my thing - this was just a display piece I wanted to paint.
The Eureka sculpts are fantastic and were a joy to paint.  I owe a debt of gratitude to Tarleton's Quarter for painting inspiration, uniform color schemes, and basing.  His painting is pretty amazing.