Showing posts with label battle report. Show all posts

Wednesday, December 31, 2025

Chaos vs Lizards - Battle for the Four Stones

For our annual Christmas break 2025 game of Warhammer Fantasy battle, my son loves creating his own stories and special rules.  He wanted to create his own off-shoot storyline from the running narrative story I've been playing (which he's helped play lots of battles with me).  This is a WHFB 4th edition game.

Here's the scenario he came up with: the chaos army is trying to activate the Four Stones (center) so that the special character "Lil' Rocky" can be used.  Get a unit in contact with the center stone scenery piece and they try to "loosen" the stones.  First attempt, need to roll a 6.  If you fail, each subsequent attempt is easier (5 or 6, then 4,5,6, etc.) as the previous attempt loosens the stones. 

Lil' Rocky is a cool figure my son bought at an HMGS flea market and he made up some special rules for him for use in whichever battle he appears.

Other special scenario rule is that if the stones get activated, the warped mechanical "chaos giant" (represented by his 40k Chaos Plague Dreadnought) gets to use the flame cannon (breath fire like a dragon). Until then, just using the normal rules for a Giant. 

The Lizardmen army is trying to stop them. If they can prevent activation of the Four Stones, then Lil Rocky won't show up until mid-way through the next battle of this small linked campaign.

Roughly 1000pts per side.  From the overhead shot, terrain would be the biggest challenge - maneuvering around it would be critical.

Long-ways deployment. 

The Chaos Army emerging from the forest

The Lizards approaching the stones - the Skinks on the road

Lil' Rocky, watching from the side

Chaos split their forces, the harpies, pack of chaos hounds and the beasts going around the right side of the trees, the minotaurs and dragon ogre around the left side.

Newly painted Harpies make their first appearance...

The Kroxigors were deployed in snake formation, weaving their way through the trees
Two blocks of Saurus Warriors, led by the Skink Shaman general (Level 1 mage).  We would soon find out how tough a huge block of Saurus warriors can be.
In the magic phase, the Skink shaman (on foot) cast Fiery Convocation on the fast-flying Harpies, killing one. We didn't think much of it at the time.  But then I read the spell a little closer...."remains in play", gets stronger each magic phase, including your opponents magic phase.  Oops.  The chaos army didn't have a wizard to help dispel.  This might get ugly. 
The Harpies are now on fire...

The Kroxigors emerged from the trees, reformed and prepared to take the charge from the Dragon Ogre.  By now, you can see the flaming mess that was the remains of the Harpy unit. They managed to make contact with the Four Stones objective and loosen it a bit (making it easier to activate in the next turn). But there weren't many harpies left in the unit and there was basically no way to dispel this thing until a dispel card showed up in the cards...

Stalemate in the combat between Dragon Ogre and Kroxigors

Things started to go south for the chaos army at this point.  The Harpies had fled away after getting charged by the skink skirmishers, then the chaos hound pack charged the block of 30 saurus warriors - lost combat, and left. This caused a number of panic checks and the entire center of the chaos army collapsed.  
Run away!

However, the giant (chaos dreadnaught model) took matters into his own hands.  He charged the Shink Shaman general, and promptly ate him.  Not exactly how we expected to dispel the Fiery Convocation spell, but it worked!

At this point the chaos army recovered most of their nerve and rallied.  The Giant continued his MVP performance, jumping up and down in the other block of saurus warriors, smashing and stomping an entire rank and the unit broke and ran. 

A last ditch attempt to turn the tide for the Chaos army was made with the beastmen unit - they charged the big block of saurus, but couldnt cause enough wounds to overcome the huge rank bonus.  They lost combat and broke, narrowly escaping getting run down. 

There was one last hope, though - in the 6th and final turn, chaos had two units in range to make contact with the Four Stones objective, so two more chances to activate and win.  The minotaurs rolled, needing a 5 or a 6 - no luck.  But that made it easier for the giant.  The final roll of the game - on a 4,5, or 6, the giant could seal the deal.  Would the MVP continue his amazing performance???

...no! Rolled a 2.  The Lizards managed to prevent the Chaos horde from activating the Four Stones quickly and bringing Lil Rocky into the start of the next battle (he'll show up mid-way through Game 2). 

What a great game.  It once again showed the beauty of 4th edition WHFB.  Went all the way to the final die rolls of turn 6.  So much fun.  Every turn was a wild swing - Chaos, then Lizards, then Chaos. Wackiness, epic combats, great tactical challenges.   The #BestHammer.  Can't wait for the next game in the story!


Saturday, November 9, 2024

Escort the VIP - IHMN V2.0 Battle Report

 Quick battle report from our first run through of the v2 IHMN rules.  My 10 year old son loves playing this game, and he also likes making up rules so we added some additional rules to the Escort scenario.

Notes on the pictures - some of the pictures were taken before we added the fog, so the chronological order of the pics is not totally accurate.

Scenario - Escort the VIP, Fog rules, "activate the gates" special rules

A company has to get their escort from one end of the board to the other; other company gets to set up as an ambush. Also used the Fog Rules - basically while the fog is in place, roll a die to determine visibility in inches. On a double, the fog is lifted.

Background -

The Mad Scientist Dr. Horscher has lost control of one of his experimental "Stone Men", and has hired Lord Curr's company to escort the Stone Man (the VIP) back to his laboratory, The Horscher Institute.

The US Secret Service has found out about the loose experimental Rock Man, and has dispatched Special Agent Dempsey to extract the experiment and return it to the USA in the interests of "Global Security". Agent Dempsey, along with his second in command Agent Sigma, have commandeered a squadron of US Rocket Corps for the mission.

The main thoroughfare is Queen Street which leads to the Horscher Institute.  

Additional Scenario Rules - The escort company (Lord Curr) has to enable the generator to activate the gates at the end of Queen Street, to open the pathway to the Institute.  Model needs to make a successful Pluck roll while in base contact with the generator.

The foggy streets of England.


Lord Curr's company at the far end of Queen Street, with their VIP.
The experimental Stone Man
US Rocket Corps deployed on the top of factory building, waiting for their quarry to appear...
Curr's company rolled first initiative - rocketmen on the building.
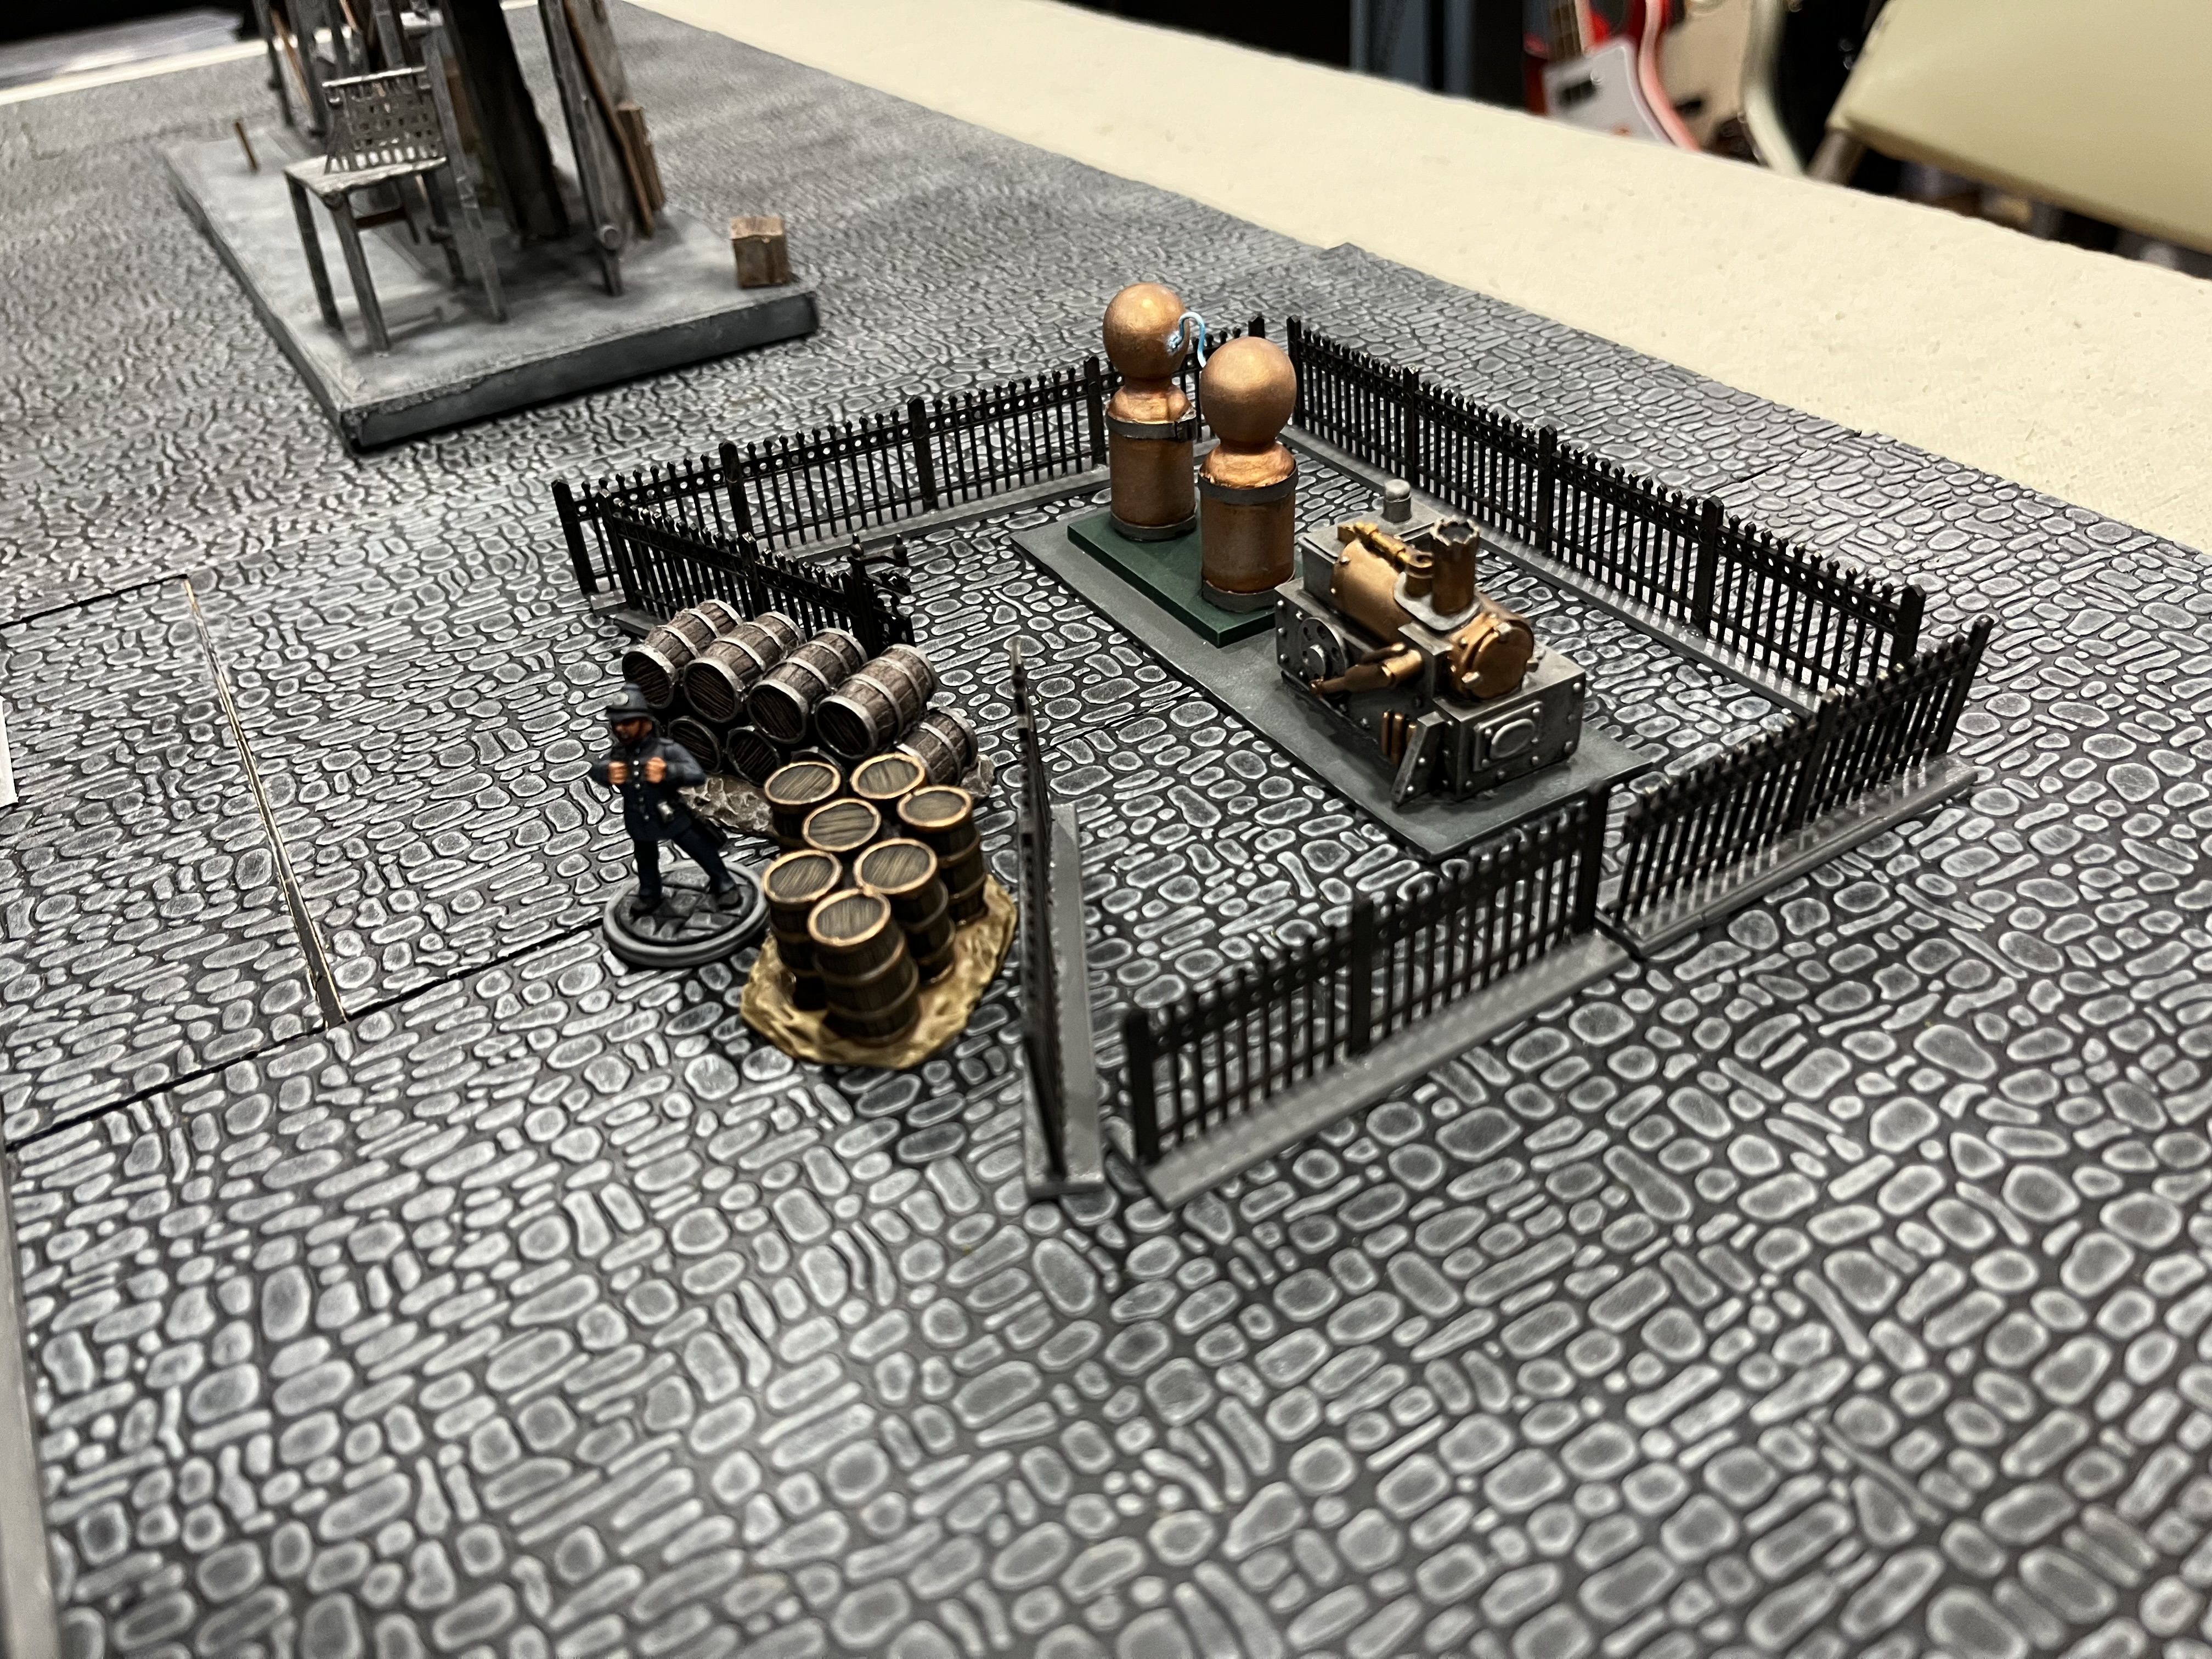
The generator behind the factory.  Also needed to make a successful pluck roll to move the barrels out of the way...

Curr split 2 Incorrigibles (Fitz-Curr and purple pants) over to the generator on the first turn.

Rocketmen spotted them, and Rocket Sgt Madison sent to men over to the back of the factory - they dropped a grenade, but with the fog and height, it missed. This alerted the constable guard.


On the back over on Queen Street, one rocketman dropped down to stop the incorrigbiles from resuming escort. Sgt Madison dropped the grenade hoping to take them out as well, but he mistimed the throw - the grenade went off just as the rocketman was landing - killing his own man!

2nd rocketman dropped down to help the fight for the generator, but the Incorrigble Purple Pants knocked him out of commission.  Fitz-Curr joined in support as well.


After rolling doubles, the fog had officially lifted, giving Agent Dempsey a better view of the situation.  With three out of five Rocket Men out of action, including Sgt Madison, Agent Dempsey at this point realizes things were quickly getting out of control and that his remaining Rocket Corps were outnumbered.  He signaled Agent Sigma to begin advancing down the street - Dempsey took cover behind the building, with Sigma behind the crates.  Mohan Singh saw Dempsey and unloaded a burst of fire with his machine gun, but hit the building.  Dempsey fired back, missed while dodging the hail of bullets.


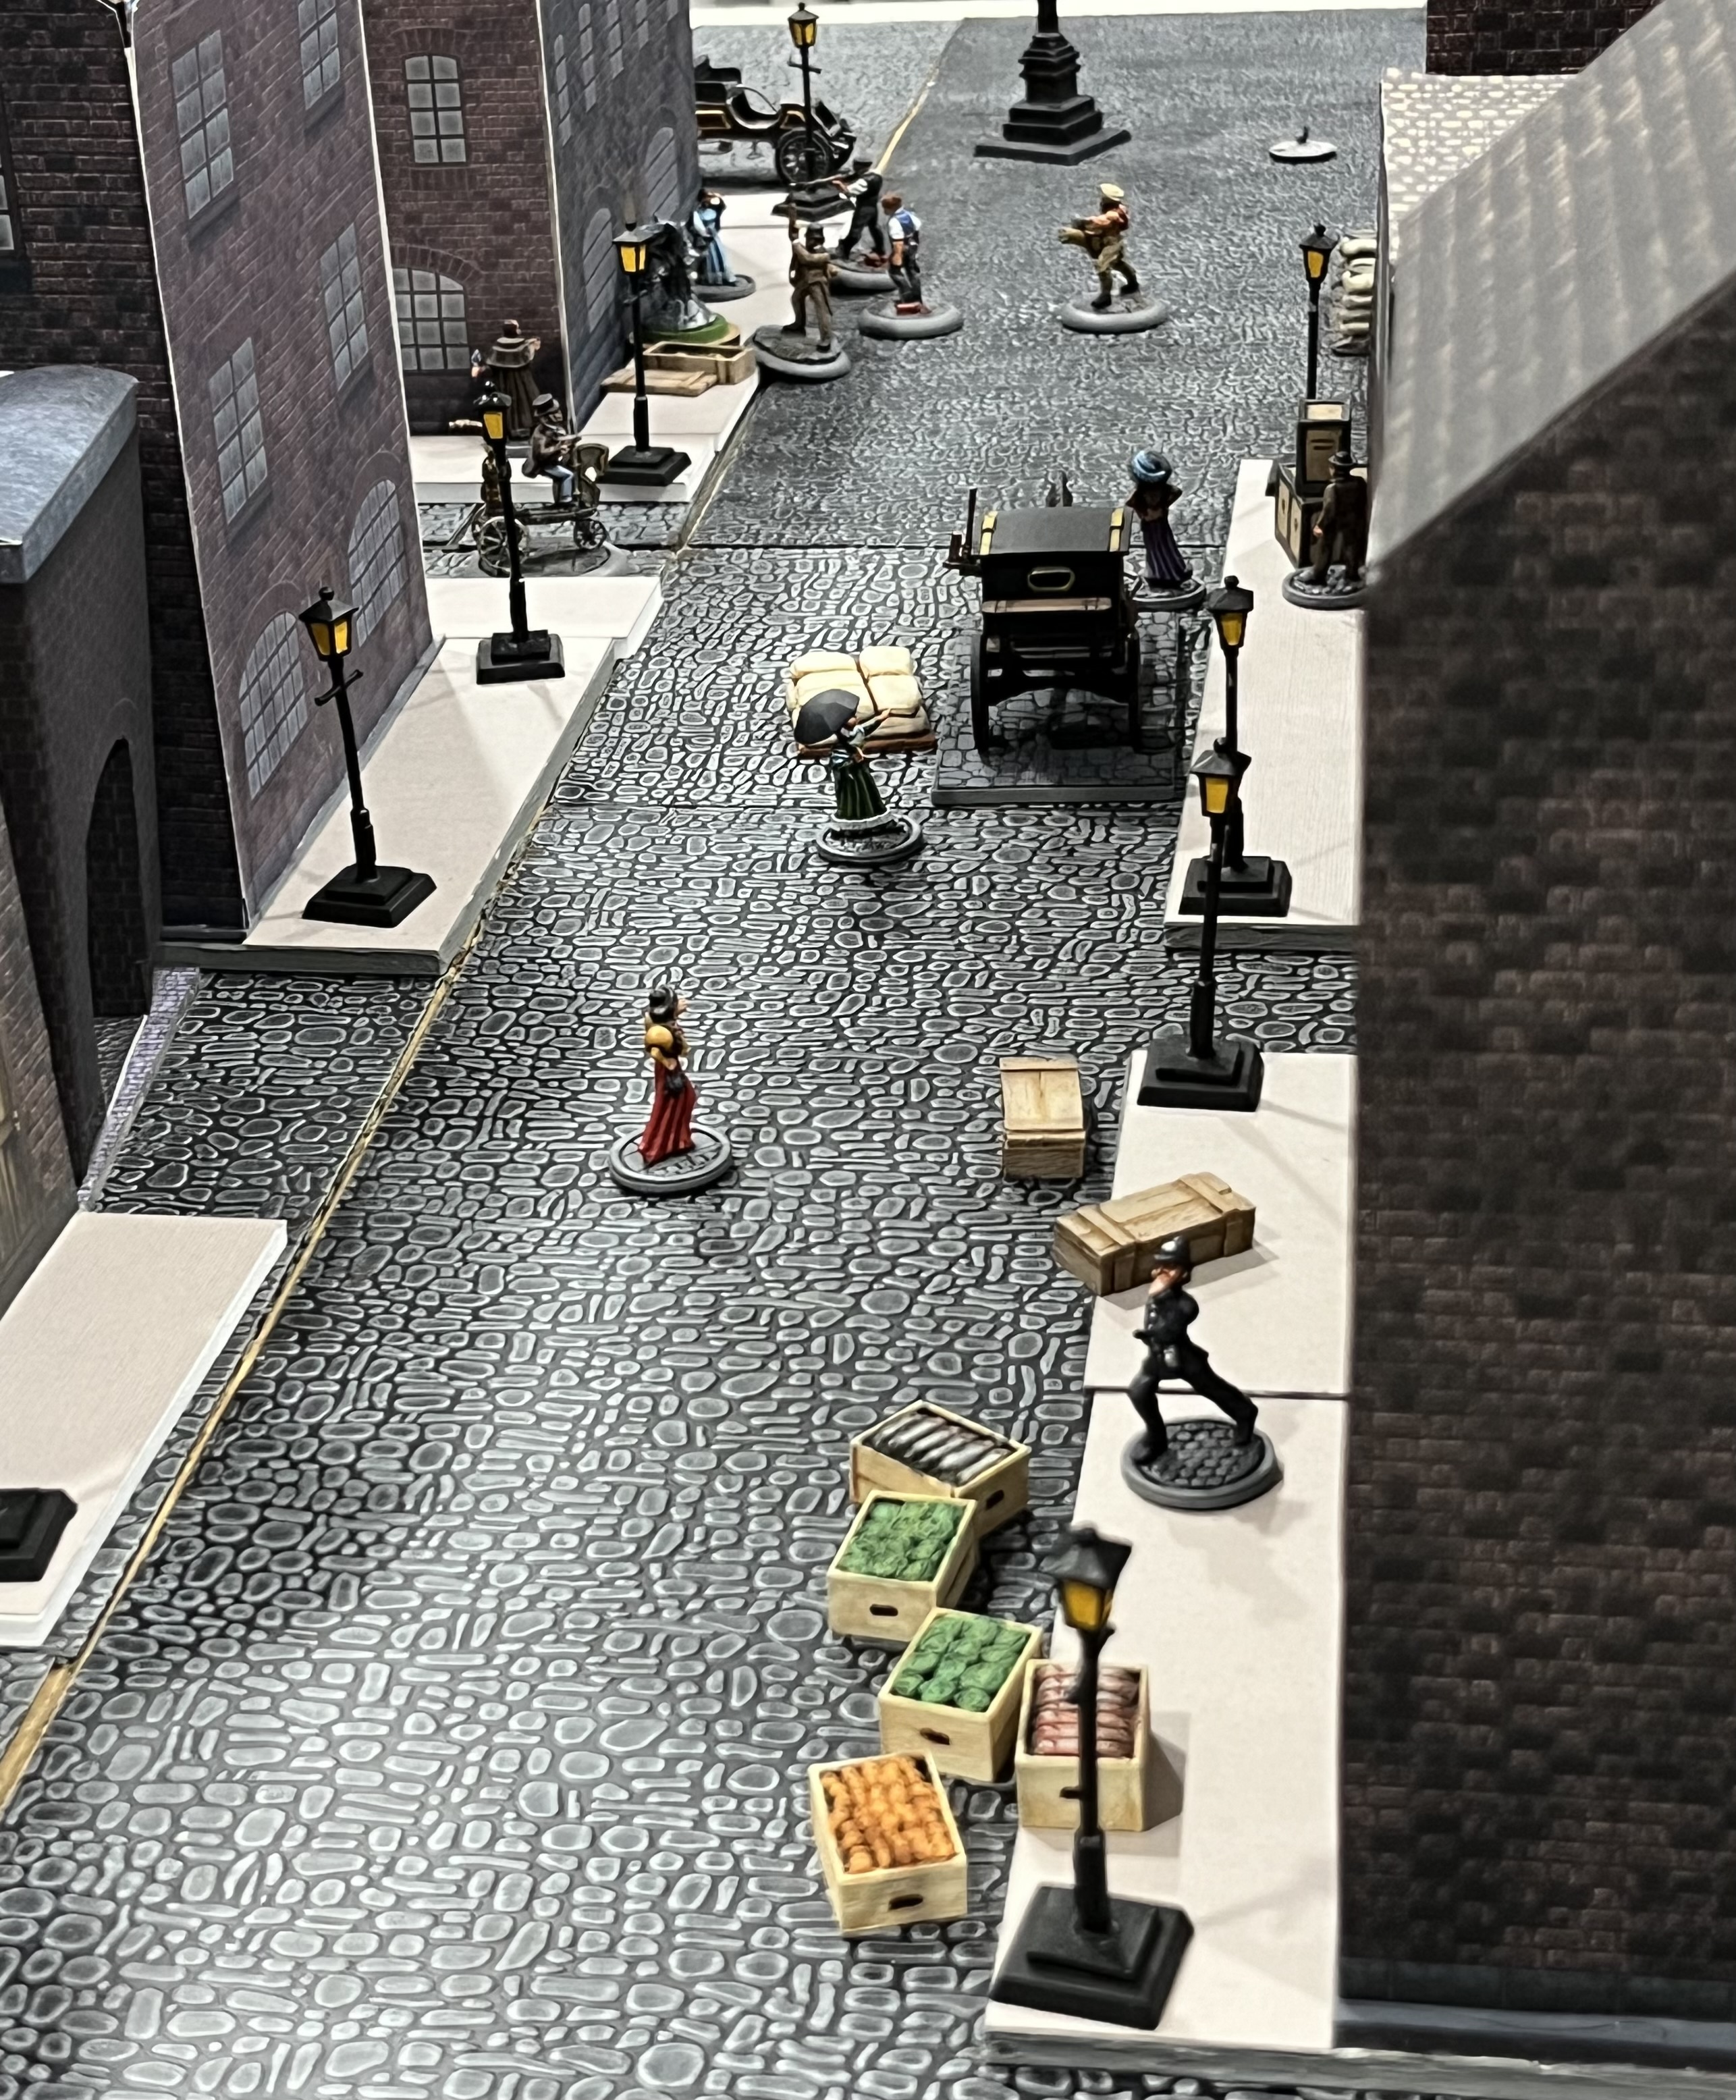
The view from The Institute down Queen Street
Curr and his Incorrigbles escorting the Stone Man
The Rocketmen back at the generator turned the tables, knocking out Fitz-Curr!

With the help of another Rocket man, they took out Purple Pants as well, preventing him from turning on the generator to open the gates. 
The big scrum has ensued now - the rocket men come down Peacock Lane to join in. Multiple rounds of hand to hand combat end in a stalemate with fumbles and amazing Pluck rolls.
With the reinforcements arriving, Dempsey is squared up one-on-one with the infamous Lord Curr, and takes him out of action!  The tables have improbably turned in favor of the US Secret Service.
But then, a series of terrible rolls result in Agent Dempsey as the last man standing, outnumbered, facing an Incorrigible and Mohan Singh.  Dempsey manages to trip Singh and take him out.
With only a single Incorrigible left, Dempsey uses his pistol to crack him on the head, knocking him out. 
He single-handedly secures the Stone Man and boards the Secret Service Ornithopter to spirit it away back to the US.  Against all odds, Mission Accomplished!

It was a really fun game.  The scenario, background narrative (mostly invented by my 10 year old son who was playing the game with me), and fog rules really helped to create a good setting for the game. It's one of the things I love the most about IHMN - every game really feels like a story.

As for Version 2.0 - I tried hard to go slow and actually read the new rules. For the most part, it's the same game with minor improvements (group fights, shooting into fights, etc., all much simpler).  Mohan Singh definitely feels like he's worth his points value now.  Looking forward to seeing how the adjustments to the Mystical Powers works out. In Version 1.0, they were definitely unbalanced. I played a number of games against The Servant's of Ra and Ahkenaton was pretty powerful. 

I'm definitely back into IHMN - I've decided to start upgrading my terrain: better pavements, better buildings, and convert my cobblestone MDF boards to insulation boards. The MDF is too heavy to carry around to conventions.  I'm also going to paint up my additional companies and NPCs so we have more choice.  Can't wait to get in some more games!

Monday, November 27, 2023

Battle for Maugthrond Pass

Waaaay back in the early 90s when Warhammer Fantasy Battle 4th edition (the best edition) came out, I got the boxed set, and like many people, played the scenario that came with it - the Battle for Maugthrond Pass.   Also like many people, we (as my best friend Le Coq Fou mentioned) frantically glued all the plastic goblins and elves and had to use the cardboard cutout "standees" to represent the cool units and characters like High Elf Prince Eltharion on Stormwing, the repeater bolt thrower, the Orc shaman Blacktooth riding the Wyvern, the stone thrower, and of course, Grom the Paunch.  With a bedsheet draped over some books for hills and a paper cutout template to represent the woods, we thought wargaming couldn't get any better.

Some 30+ years later, I realized that I now owned all of the actual miniatures for those cardboard standees and, even more surprising, I had finished painting them.  The only thing left to paint was a few high elf archers and spearmen.  All the goblins were painted, too (technically they were night goblins from the Skull Pass boxed set and a few oldhammer metal goblin archers, but good enough).

It was time to refight that scenario with fully painted armies on a real wargaming table.  

Here's a summary of the refight and a photodump. The scenario was surprisingly balanced and a lot of fun.  Staggering the elf reinforcement arrivals certainly helped, as did delaying Etharion's arrival until Turn 5.  Any earlier and he probably would have wiped the field.  For the sake of fun, we adjusted a few unfortunate early die rolls (like the stone thrower misfiring and destroying itself on turn 1!), and tweaked a few rules near the end to keep the cinematic effect going.

(Click the picture for larger image)


Overhead shot from a different angle than the map.  Use the directional arrows to re-orient...

Thronduin's guard patrolling the village. They can't move until the warning beacon is lit.  Neither can the elf archer reinforcements.  


The goblin horde, led by Grom, emerge from the early morning mists of the forest.

The Orc Shaman Blacktooth managed to get some pretty good spells.
The main goblin spearmen unit ignore the watchtower and march as quickly as possible to the village before the warning beacon can be lit.
After the first elf was killed trying to light the beacon himself, 3 more elves ran down together
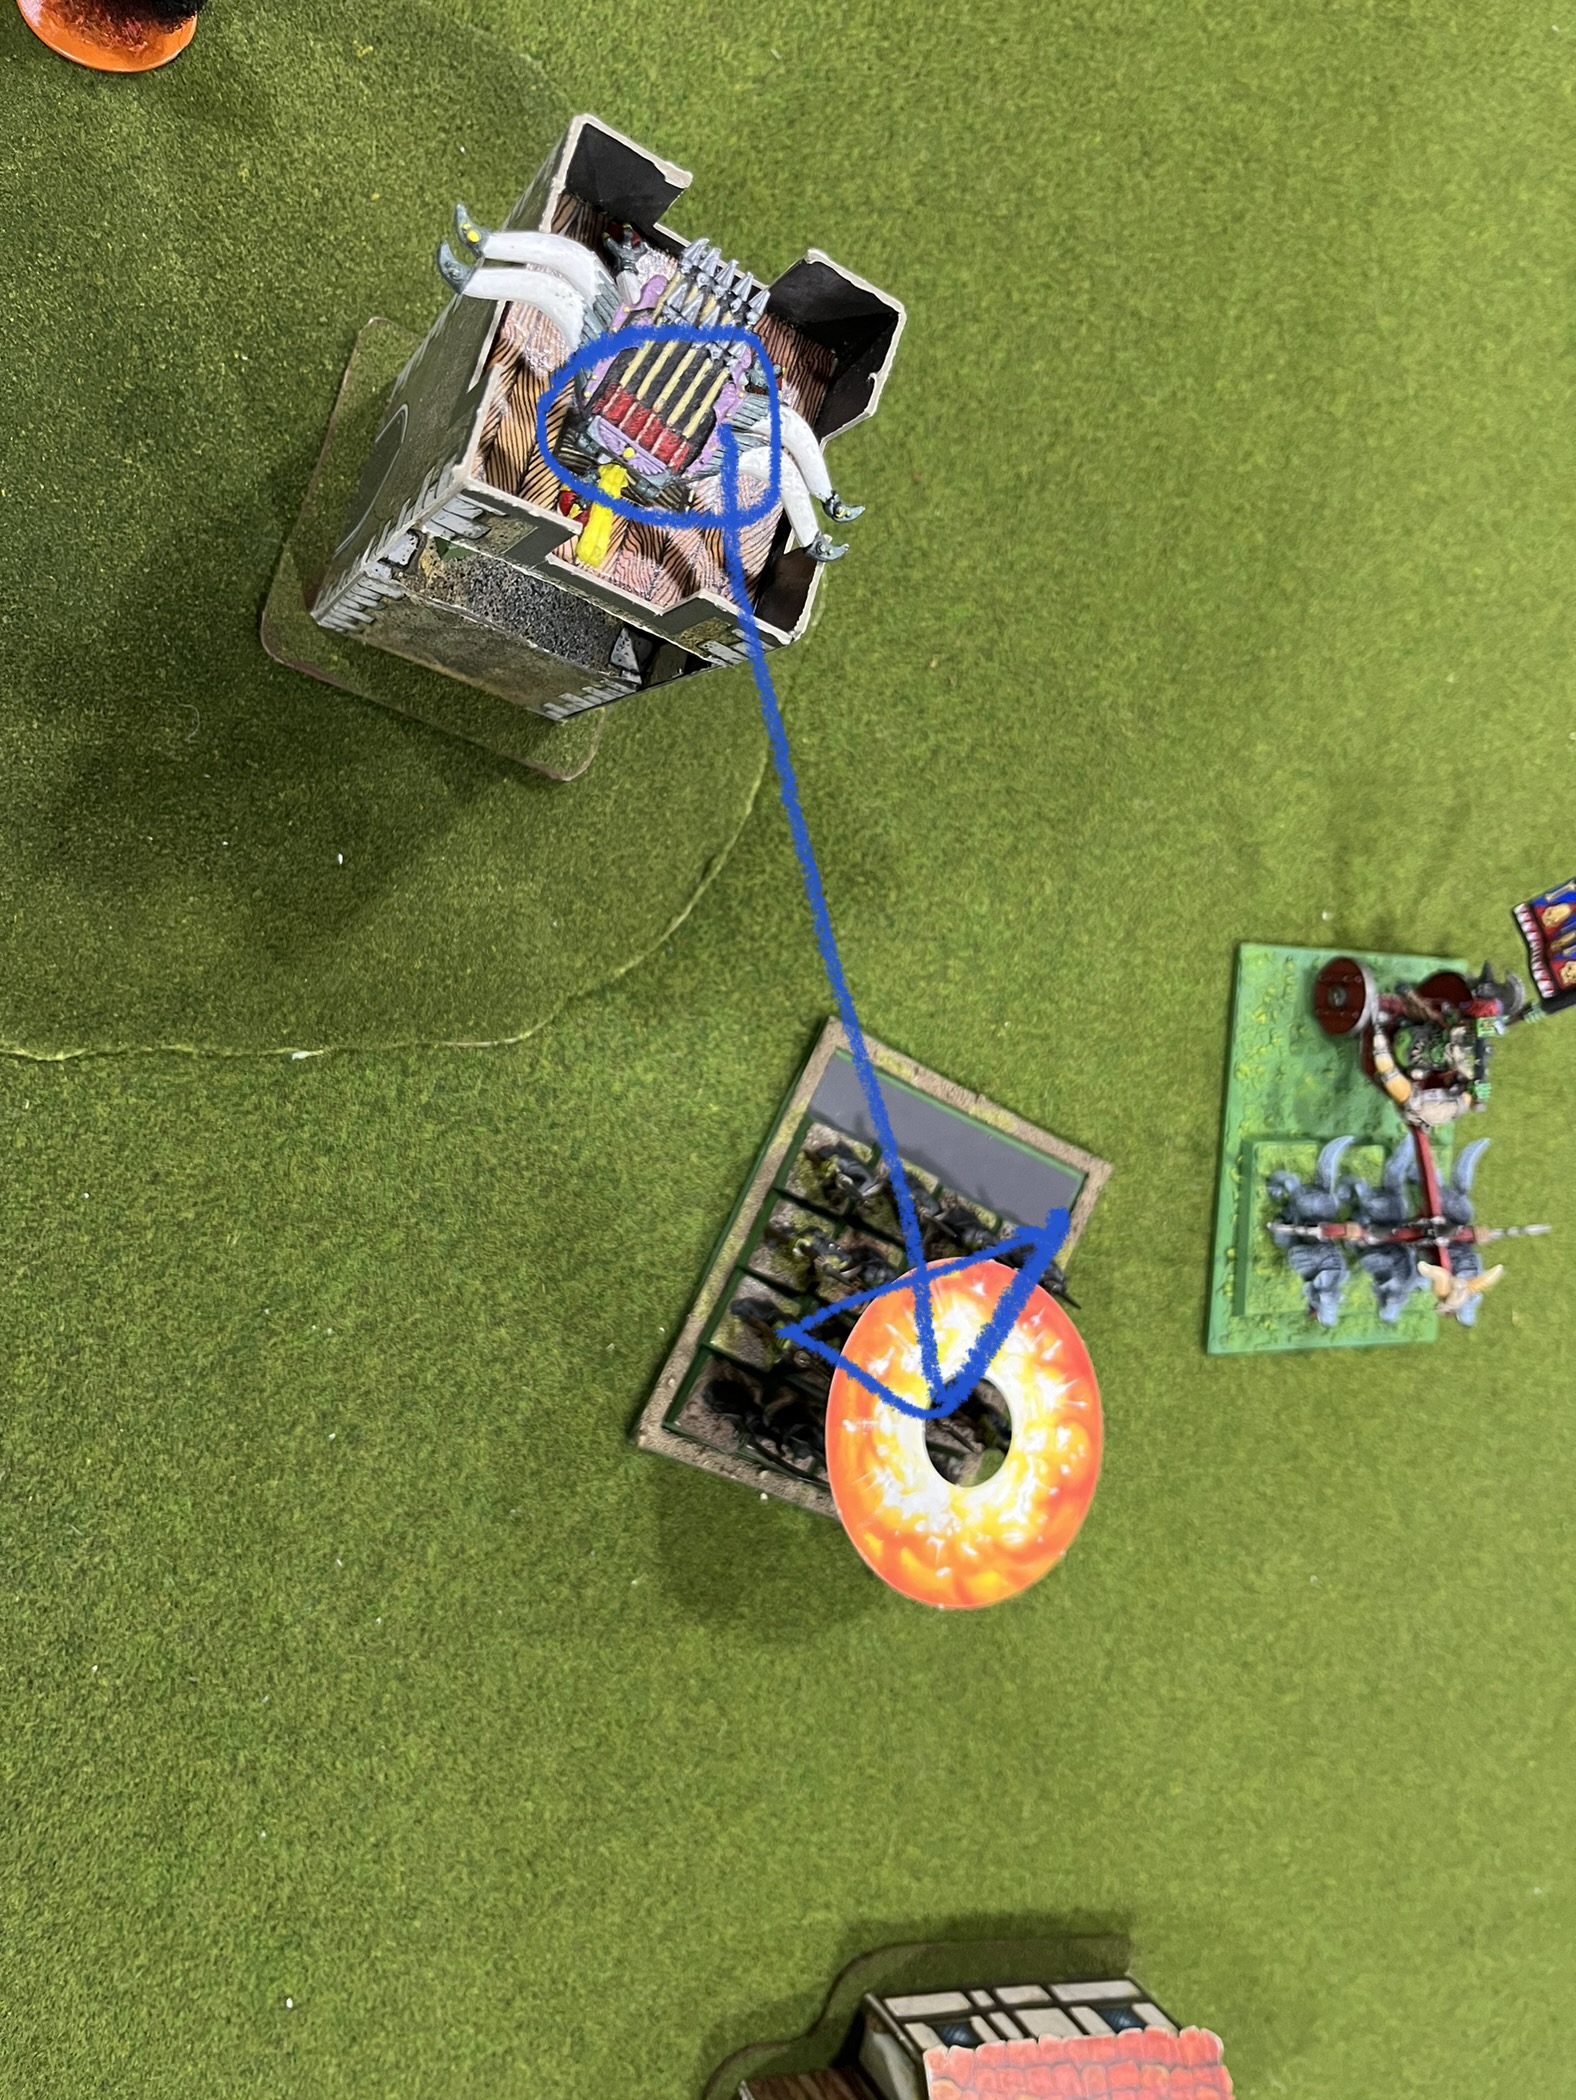
The orc stonethrower crew estimated the distance perfectly to nail the bolt thrower, but their accuracy was a little off....and instead had a direct hit on the goblin spearmen!
4 gobbos squashed by a stone. oops.
Blacktooth, after spending a turn to successfully extract the power of the magic Standing Stone and charge up the Black Amulet (victory points!), he cast Da Krunch, summoning Gork's foot (or was it Mork??) to flatten half of the elf archers.  The promptly failed their panic check and fled.
By now, the warning beacon was lit, so the archer reinforcements began to enter the battlefield.  But it was too late for the smaller spearmen guard unit.  Grom charged the unit and wiped them out, then angled into the village to lend support to the goblin spearmen who had charged the larger guard unit (Thronduin's Guard). The supporting elf archer unit failed their panic check from the nearby destruction of the other spearmen unit had nowhere to go, boxed in by Blacktooth.

Turn 5, Eltharion has arrived to "save the day".  He almost did...
This battle was epic. Eltharion charged, and the Sword of Teclis did it's damage - killing Blacktooth. But the Black Amulet was still able to bounce a few wounds back onto Eltharion, ALMOST killing him. On the next turn, Eltharion eliminated the wyvern who was loyally standing guard over the dead body of his master. 


Meanwhile, Thronduin's guard routed the goblin spearmen, but didn't catch them - this left their rear flank exposed to a charge from Grom...who was also charged simultaneously by Eltharion (i forget how we got into this situation, but it was legit)

Anyway, for fun we decided to have the chariot attack (and the wolves) count against the high elf spearmen, but then have Grom and Eltharion fight each other as a challenge. We resolved everything simultaneously, and Grom managed to kill Eltharion (he only had one wound left...), and the chariot attack just murdered 75% of the elf spearmen unit,  who was run down by the chariot after the fled. 
The final overhead shot. We counted up the victory points, and the Goblins won 25-11!   A resounding victory.


My son and I had a blast playing this scenario. It definitely helped that we tried to make decisions in keeping with the "narrative play" instead of the absolute best tactical/game rules decision. For example, with only 1 wound left, risking 10 victory points by having Eltharion charge Grom was not the best idea (it basically won the game for the Goblins), but there was no way that Eltharion was passing up a chance to battle his arch enemy and try to repel the Goblin lord. Plus, this is Herohammer - the characters are destined to fight each other!

Hope to have some more refights over the remaining holidays of 2023.