Sunday, June 25, 2017

Defend the Bridge!

We played a modified version of an old scenario from White Dwarf.
I can't remember which issue, but back in the late 90s/early 2000s, GW ran a linked campaign of scenarios that included a game where a rear-guard was left behind to hold a bridge long enough to allow the main body of a retreating army to get away.  It's totally unbalanced, but with the new flavor and narrative style of Age of Sigmar, this version of the game really lends itself to replaying the scenario than the previous versions of Warhammer.

So...we set it up.   It was a 3-player battle - myself, Rookie Wargamer, and our buddy that normally plays the Lizardmen.  There was a small Empire force (including a random Kroxigor) deployed on and around the bridge, and needed to hold off against an orc and goblin army, under the...sway...of a Chaos Lord.  The armies were divided into 3 commands: 1 person would take the Empire, and the greenskin army was split into two.

We didn't bother defining a real objective or worry about who was gonna win.  We basically decided at the end of each turn we'd take a look and make a call on whether the Empire had held long enough or if the greenskins had crossed the bridge or held enough strategic ground to say that they had overrun the defenders.  We didn't even calculate points with the Generals Handbook: we just tried to make sure the greenskins outnumbered and outmatched the Empire.  Basically, the Empire knew they were going to die, they just needed to hold up the enemy as long as possible.


Waiting for the green wave to crash on the bridge

Here they come...


The Chaos Lord mustering his force...

Overlooking the advance

Halberdiers in view.

First turn...the doom diver aim wasn't quite calibrated yet...

Mortal Realms Podcast tokens come in handy.
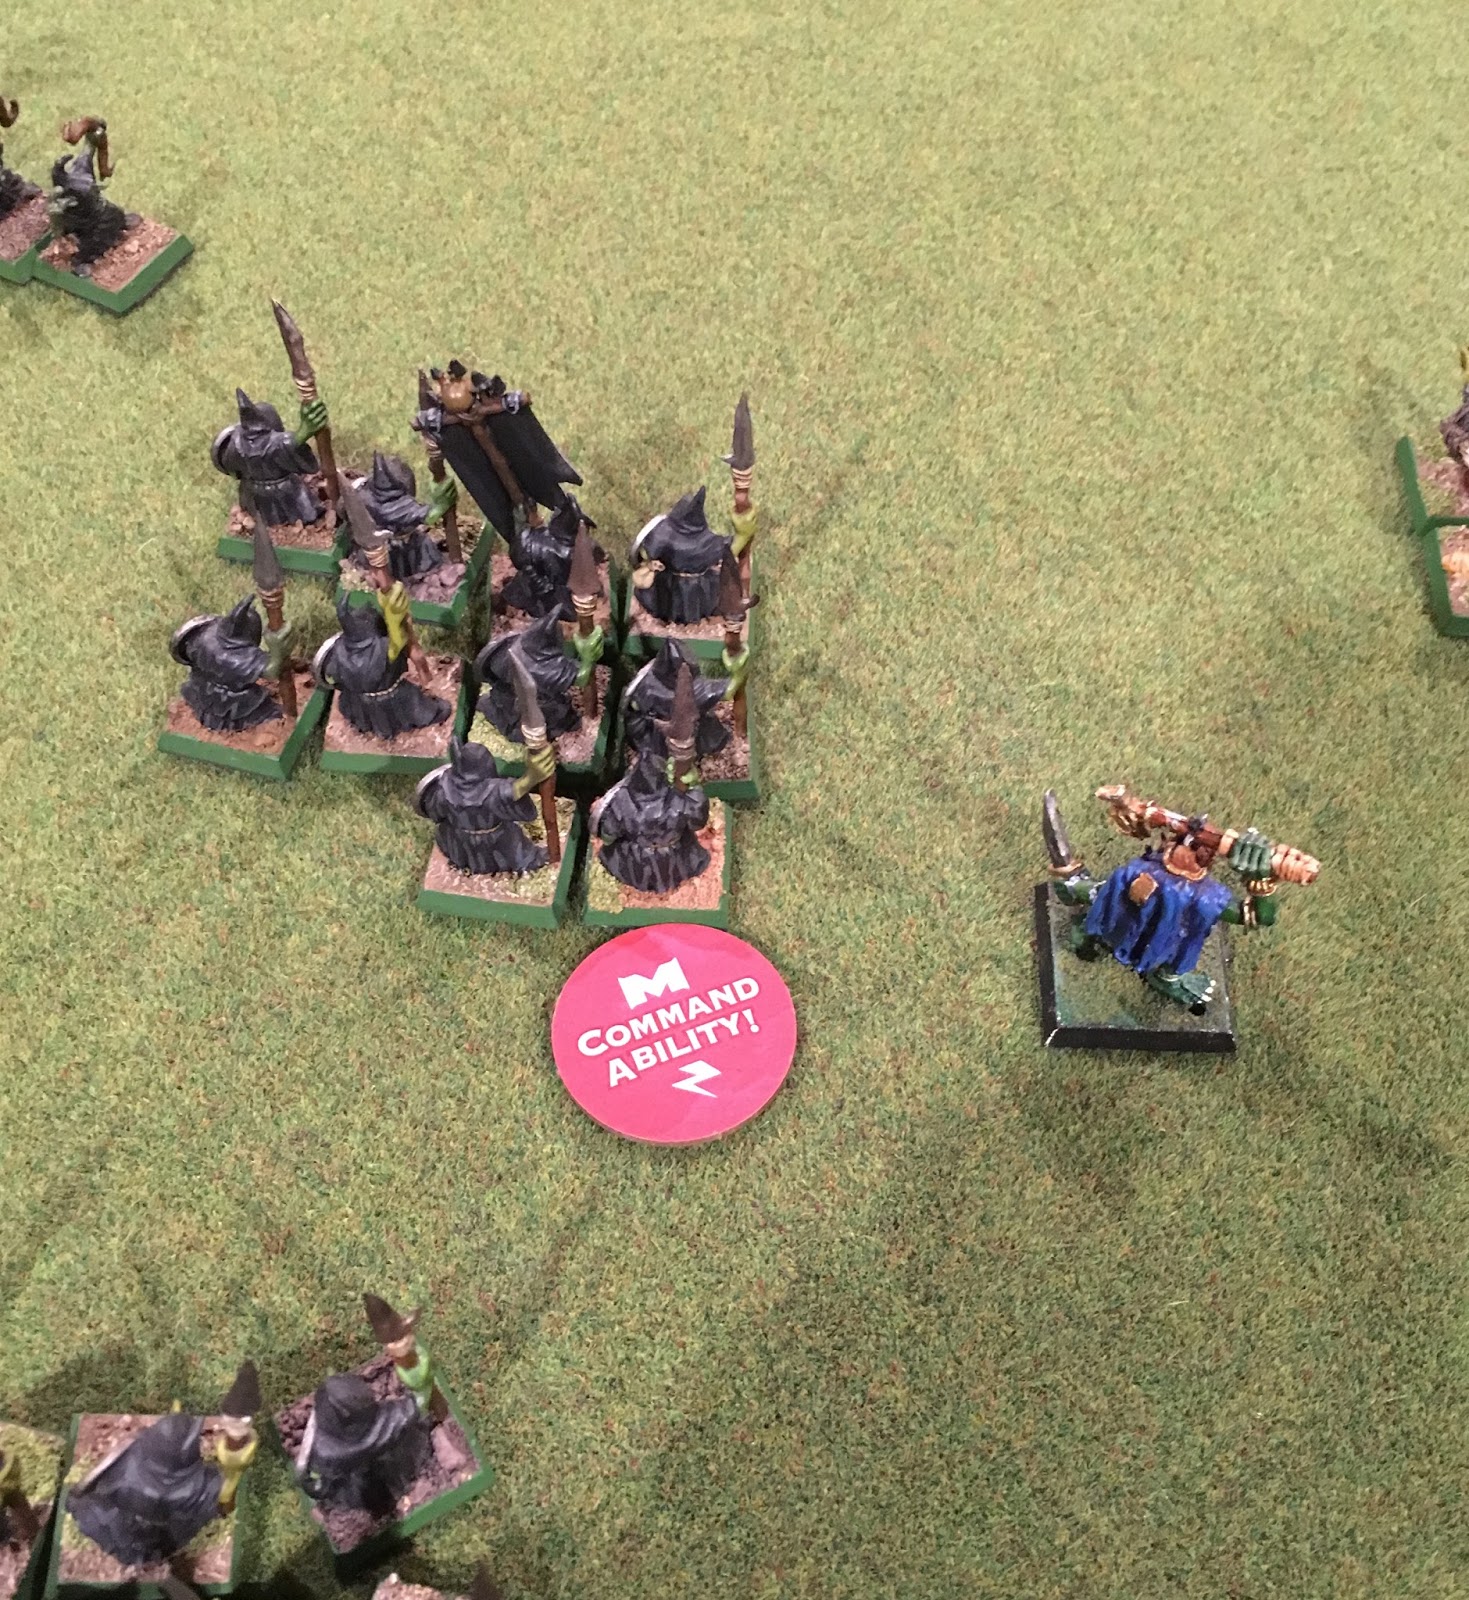
The Orc Shaman continued to zap the front line bridge defenders with Gaze of Mork, and the Doom Diver eventually hit the Kroxigor and the halberdiers.  The goblin spears charged the weakened halberdiers and eventually destroyed them leaving a gap on the bridge.  In keeping with spirit of the scenario, the Empire general continually used his "Hold the line!" command ability which gave a unit a bump in to-hit and to-wound rolls.

This was where the strategic error of the game was made: the gap on the bridge was too enticing, and the goblin unit was used to charge the swordsman who were also on the bridge - but the goblins didn't have enough punch break through.  Combat bogged down and there was no room for additional units (like the Black Orcs or regular Orc Boys).   It quickly became apparent that goblin spearman would need to retreat from combat to make room for more powerful units, or the game would be over...

The Chaos Lord realizes his mistake and takes matters into his own hands.
 After some back and forth we decided the game should end with the final showdown on the bridge - Empire General vs Chaos Lord (technically just a single Chaos Knight).  If the Empire General wins, they've held off the greenskins long enough.  If the Chaos Lord wins, then his force has broken through and seriously threatens the retreating main army.

Combat went back and forth a few rounds with a lot of misses and no wounds...

Eventually - the Empire General took down the chaos lord, impaling him with his sword!

It was a really fun game.  AoS continues to shine in smaller sized games (the largest unit on the board was 8 models).  Most of the units were small, consisting of only 5 figures.

Monday, March 13, 2017

Lizards vs Empire


We played a spur-of-the-moment game of Age of Sigmar this past Saturday.  We didn't do any planning or preparation - just "hey, wanna play?" "sure!"

We finally decided to try out the points values from the new General's Handbook and went with Empire vs Lizardmen which would prove to be interesting because we hadn't really given the Lizardmen a true run through.

We used the points as a "framework" to guide us for the army sizes. The armies weren't perfectly matched - we played about 1100 points, give or take a few. More thoughts on that later.
We played the Blood and Glory scenario with 4 objectives in each quarter of the table.
One thing to note - when we set up the army lists, I accidentally paid the points for the Empire general on griffon (not the general on pegasus...which doesn't have points in the GHB).   We realized this after deployment, so we talked about either the Empire removing the griffon and adding more units, or just bumping a few of the lizardmen units up to balance it out.  I recommended this approach because I had a sense that the griffon was a little too powerful for such a small battle, given recent experience with with an Orc Shaman on a Wyvern...(to the recent detriment of the Rookie Wargamer).  In the end, we decided to reinforce some of the lizardmen units instead of adding units after deployment.

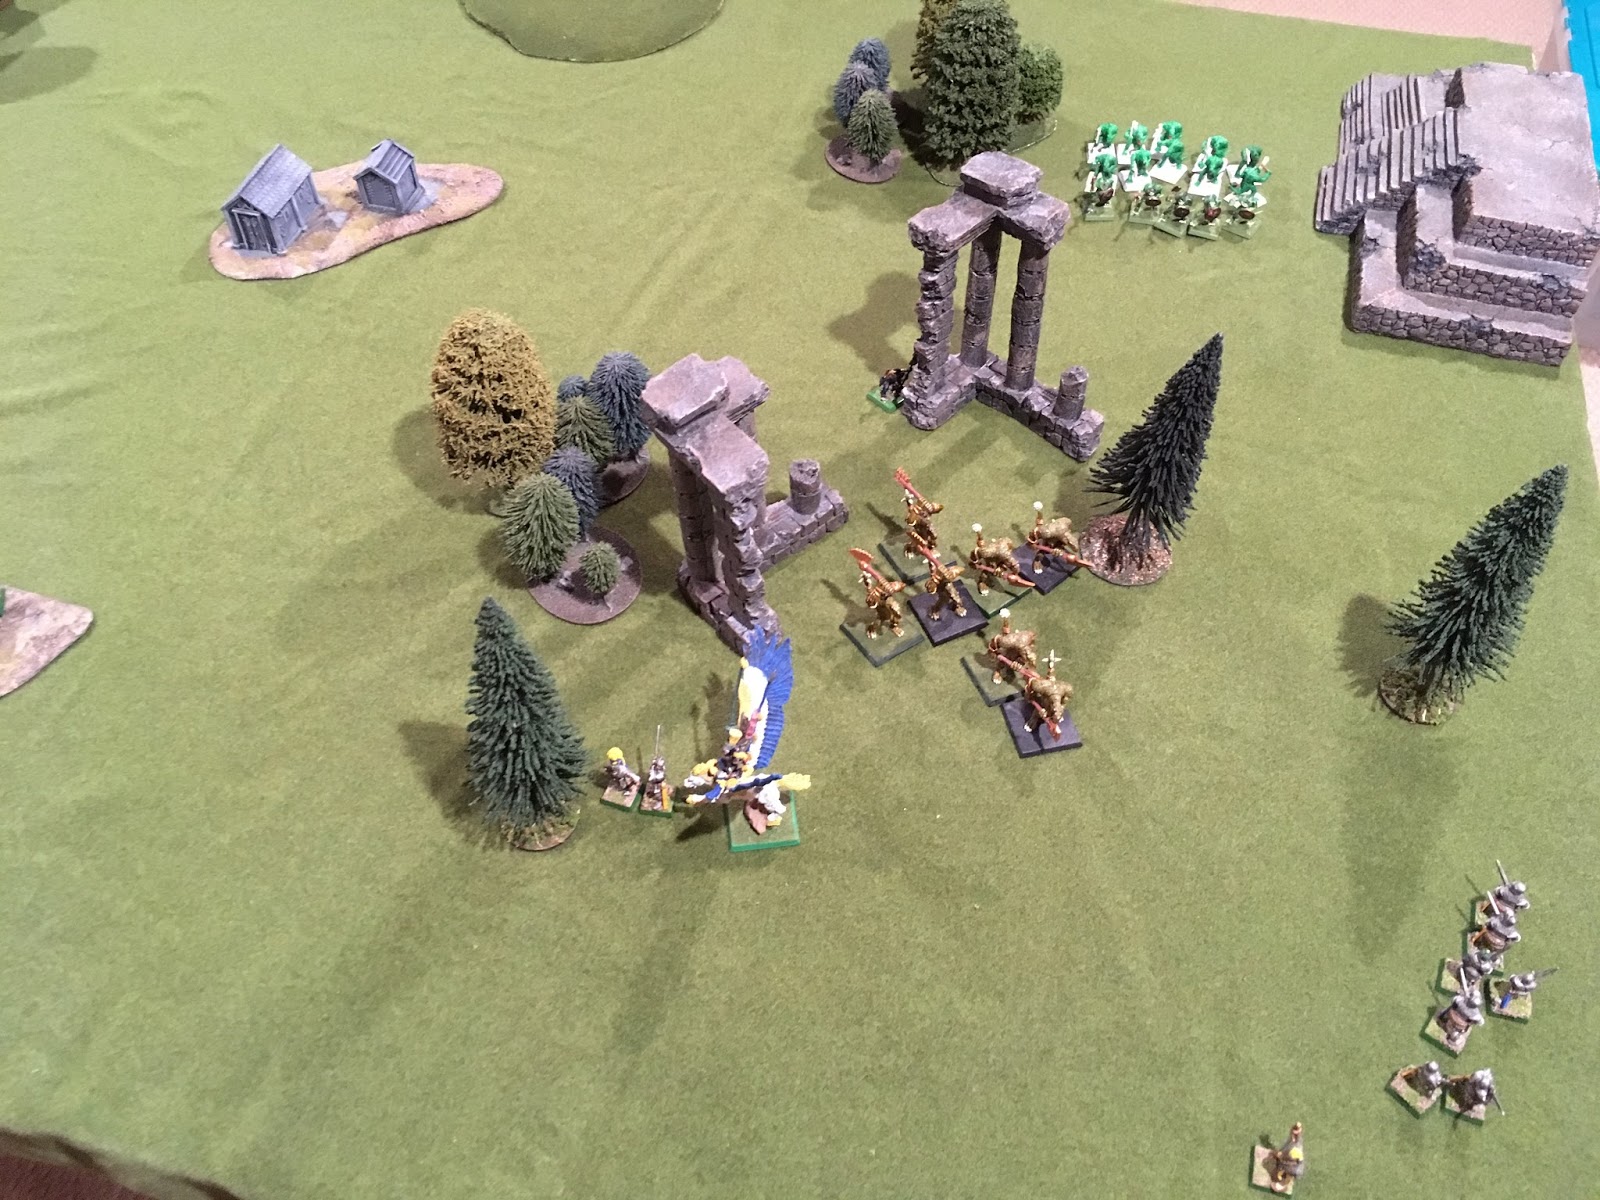
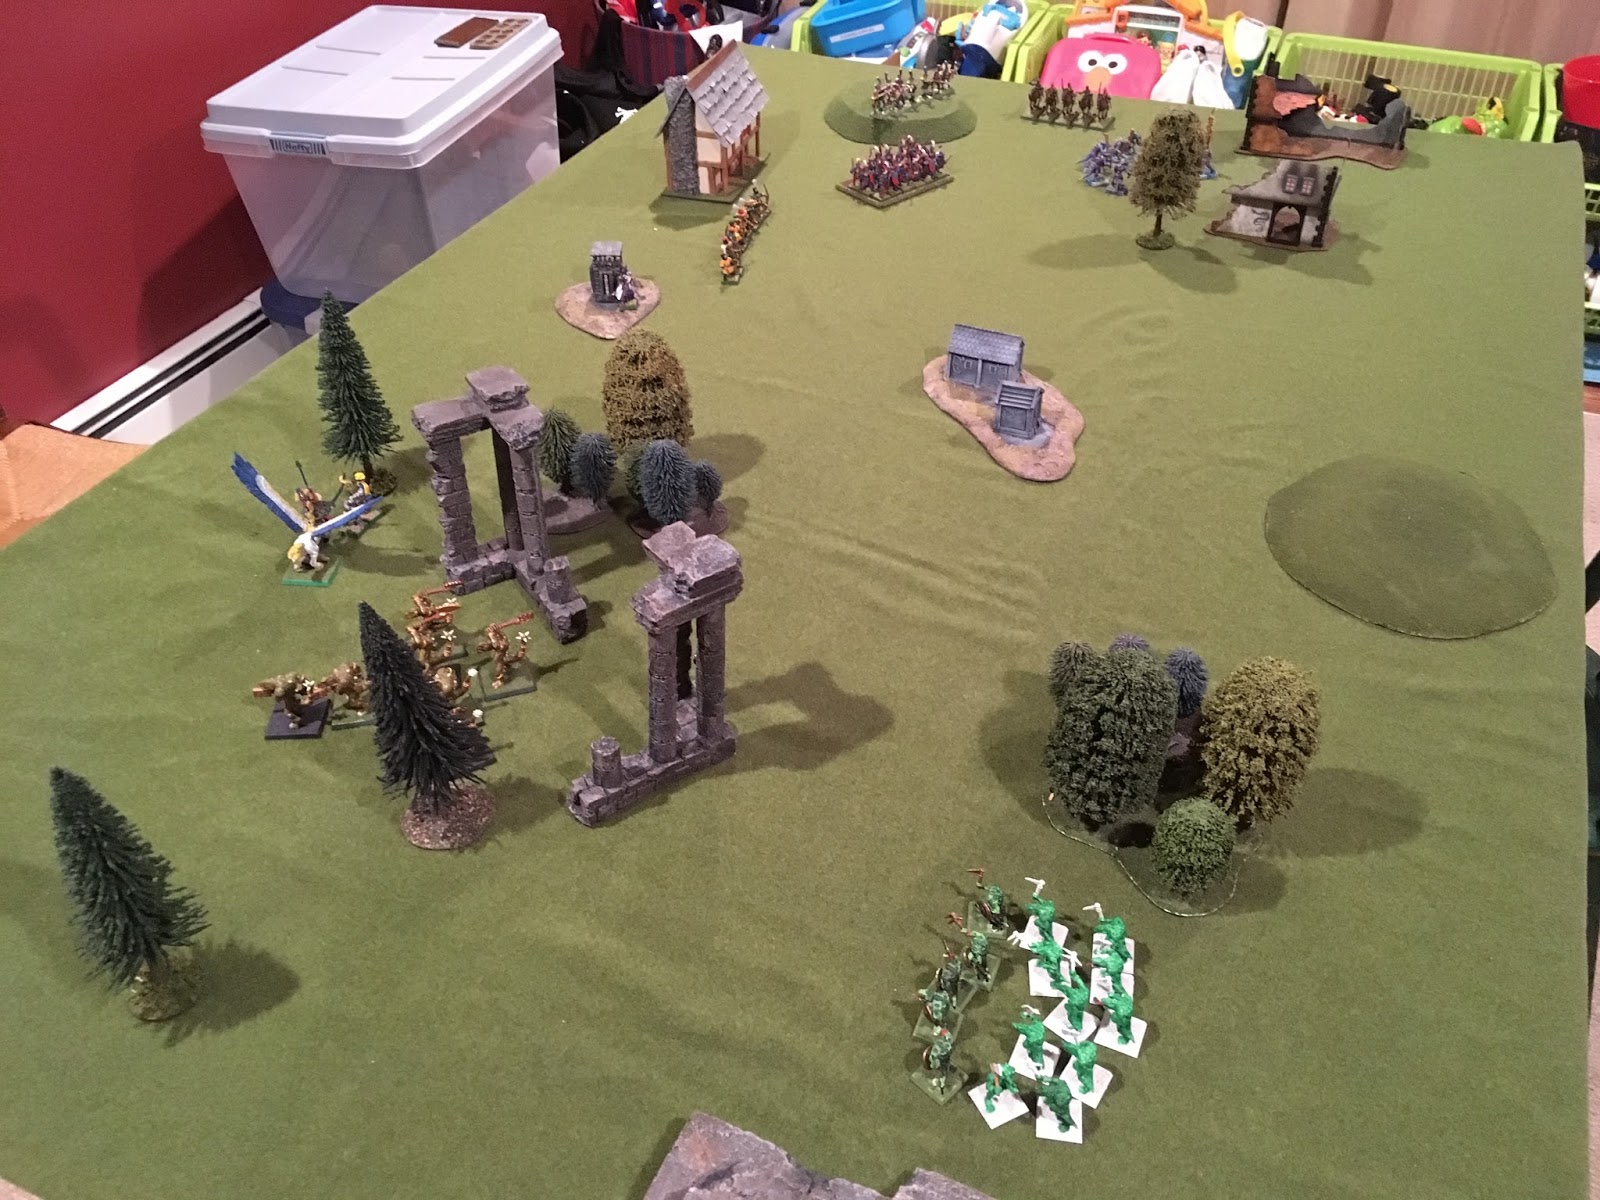
deployment overhead shots

Empire deployed with a heavy left flank

chameleon skinks used hidden deployment...

saurus and kroxigors

The skink priest general hanging out in the trees


The kroxigors swarmed the Empire general on the Griffon/Pegasus.
Updated: I almost forgot to mention that we had back-to-back double turns!  The Lizardmen finished deployment first so had the option and made the Empire go first.  After the first turn completed, the Lizardmen won the initiative roll and got the double turn.  This is what allowed them to swarm the empire general on the griffon.  Then after the second turn, the Empire got the double turn.  Bam!
 The empire general barely survived this encounter, taking 7 wounds in the initial combat and then deciding to fly away and retreat from combat.  Of course, we had Monty Python's Holy Grail playing in the background, and Sir Robin had also decided to "bravely run away" at the exact same time...


Few turns later, the Pistoliers and rest of the left flank shot the swarm of snakes off the far objective, but then the Saurus block made a right turn and swarmed them.  They were annihilated.


The crossbowmen helplessly watch the slaughter from a distance

the left flank after the pistoliers were removed to the dead pile on the left

 Back on the right flank, the chameleon skinks (no longer pictured) had popped up and basically shot the greatswords off the table, with only 2 left. The greatswords turn around and charged the chameleons, with support from the general. These were wiped out.  The kroxigors surged forward and captured the abandoned objective, securing a minor victory for the Lizardmen.

the final look at the battlefield
Final result after 3 turns (or four; i forget): minor victory for the Lizardmen!  They controlled 3 of the 4 objectives. We took a look at the state of the battlefield to see if there was any chance for a draw or a minor victory if we had played another turn or two. In all likelihood the results wouldn't change so we called the match.

It was a super-fun game - probably one of the funnest games of AoS I've ever played.  I think it might have been a combination of factors: the framework from the GHB (reasonably balanced armies, not perfect, but reasonable); Lizardmen were a fun army to play against, they have some interesting rules, and they're really, really tough so the present a different tactical challenge; and the smaller sized armies that we used.  Something tells me that AoS really shines when using smaller sized armies.  They were just big enough that we had plenty of tactical challenges, but not too big that they were cumbersome to use.

Anyway, it was a great game and I can't wait to play again.  I also need to add a few things to this army...

Saturday, February 18, 2017

Man O War

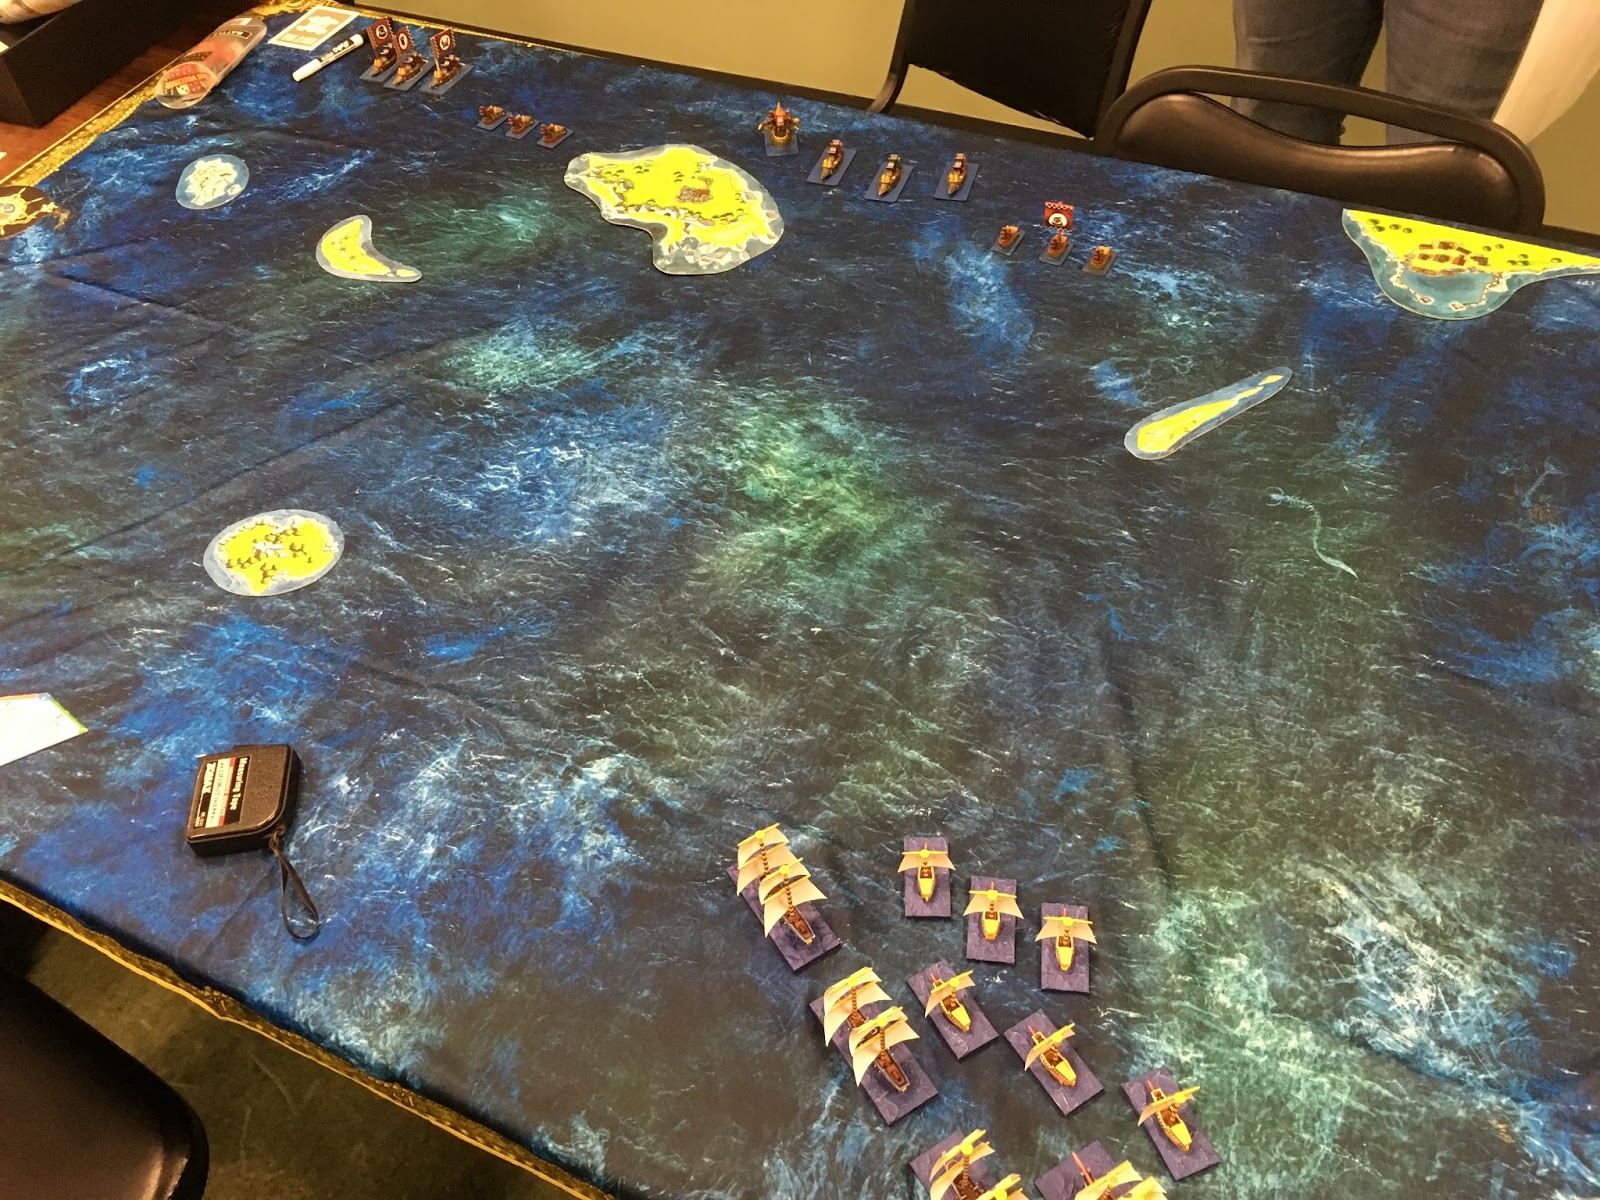
Back when Games Workshop first released Man O War, we played it almost every week.  For the most part, I used my Dwarf fleet, but I always wanted to play a Bretonnian fleet.  I had a full fleet but never got around to playing it.  Continuing with my theme of painting stuff 20+ years after the fact, I've completed my Bretonnian fleet in preparation for a game against a fully painted Orc Fleet by Le Coq Fou.

We ended up using the ocean mat from Dreadfleet, and had a fantastic game.  Those DrillaKillas are pretty scary.   

Here's some pics.


Monday, January 2, 2017

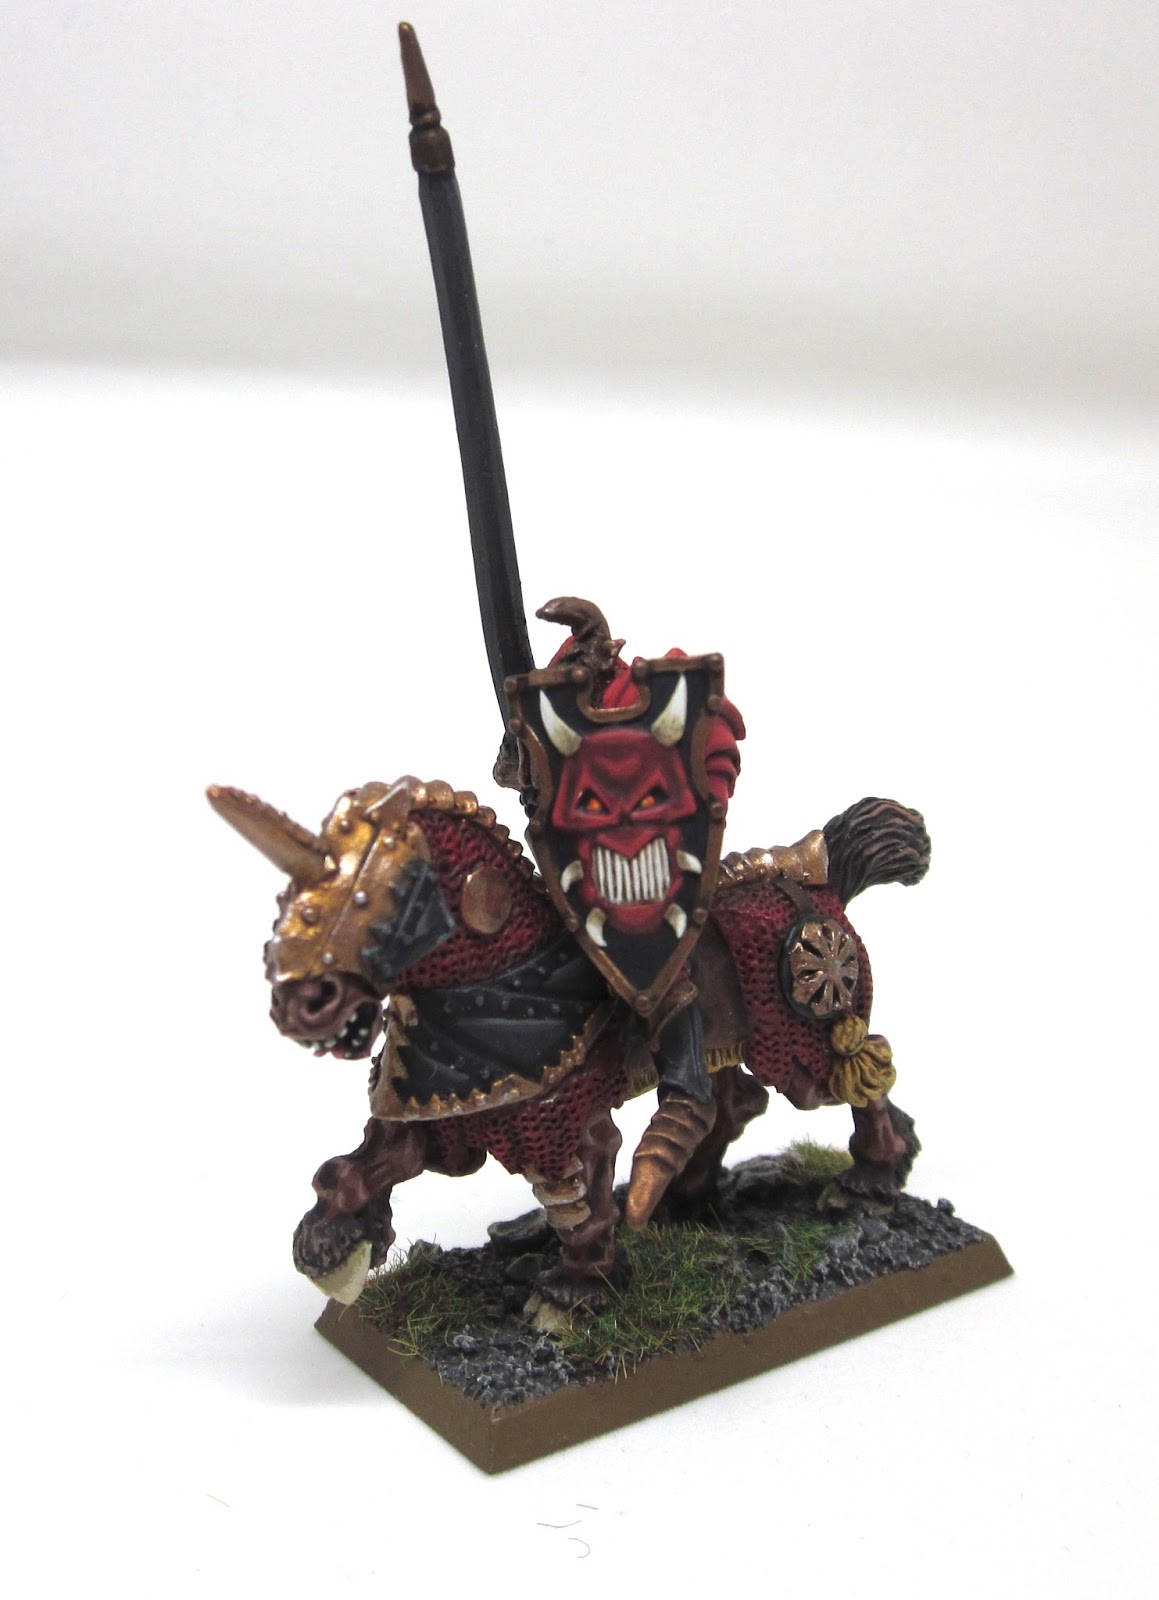
Chaos Knights

These models were some of the first models I ever purchased.  Chaos was the initial army I was going to build for Warhammer Fantasy but I got frustrated with no real army book.  Eventually the 4th Ed Dwarf book came out and I played Dwarfs almost exclusively after that.

These chaos knights have languished in the unpainted (in fact, unopened blisters) pile for a long time but I finally decided to tackle them. The metal sculpted horses are some of the best horses that Citadel produced.

Right now I only have 3, but thanks to a Buy It Sell It group on Facebook I was able to secure two more, which I'll use to round out this unit to 5.