Saturday, July 29, 2017

Escape the Locusts!

We decided to get a game of In Her Majesty's Name last night, and one of our regulars hadn't played before so we set up a 3-player game.  We used smaller model-count companies to keep the game moving along, roughly 117 points aside.  Lord Curr's Company was reduced to 6 members, and the newly painted Servants of Ra from Rookie Wargamer was split in two: the Cultists led by Ahkenaton and Professor Abir, and the Nubian Guard led by Ambdullah.  

We also tried out a new scenario from the book: "Death at your Heels!". A form of creeping death approaches from the edge of the board and the companies need to race off the other edge to escape.  Starting in turn 2, you roll for the advancing line of death - if any model is caught, they're out of the game.    5 VPs for each figure that reaches the exit point (steam boat), 5 VPs for taking an enemy leader out of the game, and 2 VPs for other figures killed.

From a background story, we decided that the creeping death was a swarm of locusts approaching from the center of the city, and the companies needed to exit off the edge of the long pier in the harbor (i didn't have a steam boat model...looks like I know my next purchase!). 
 Deployment: we set up the buildings to create 3 alleys, with each company deploying in an alley.

Turn 1, Lord Curr's company began slowly creeping towards the main road, when suddenly a mummy materialized out of nowhere!

 Mohan Singh, now a veteran of mummy encounters, passed his Pluck test and stood firm.

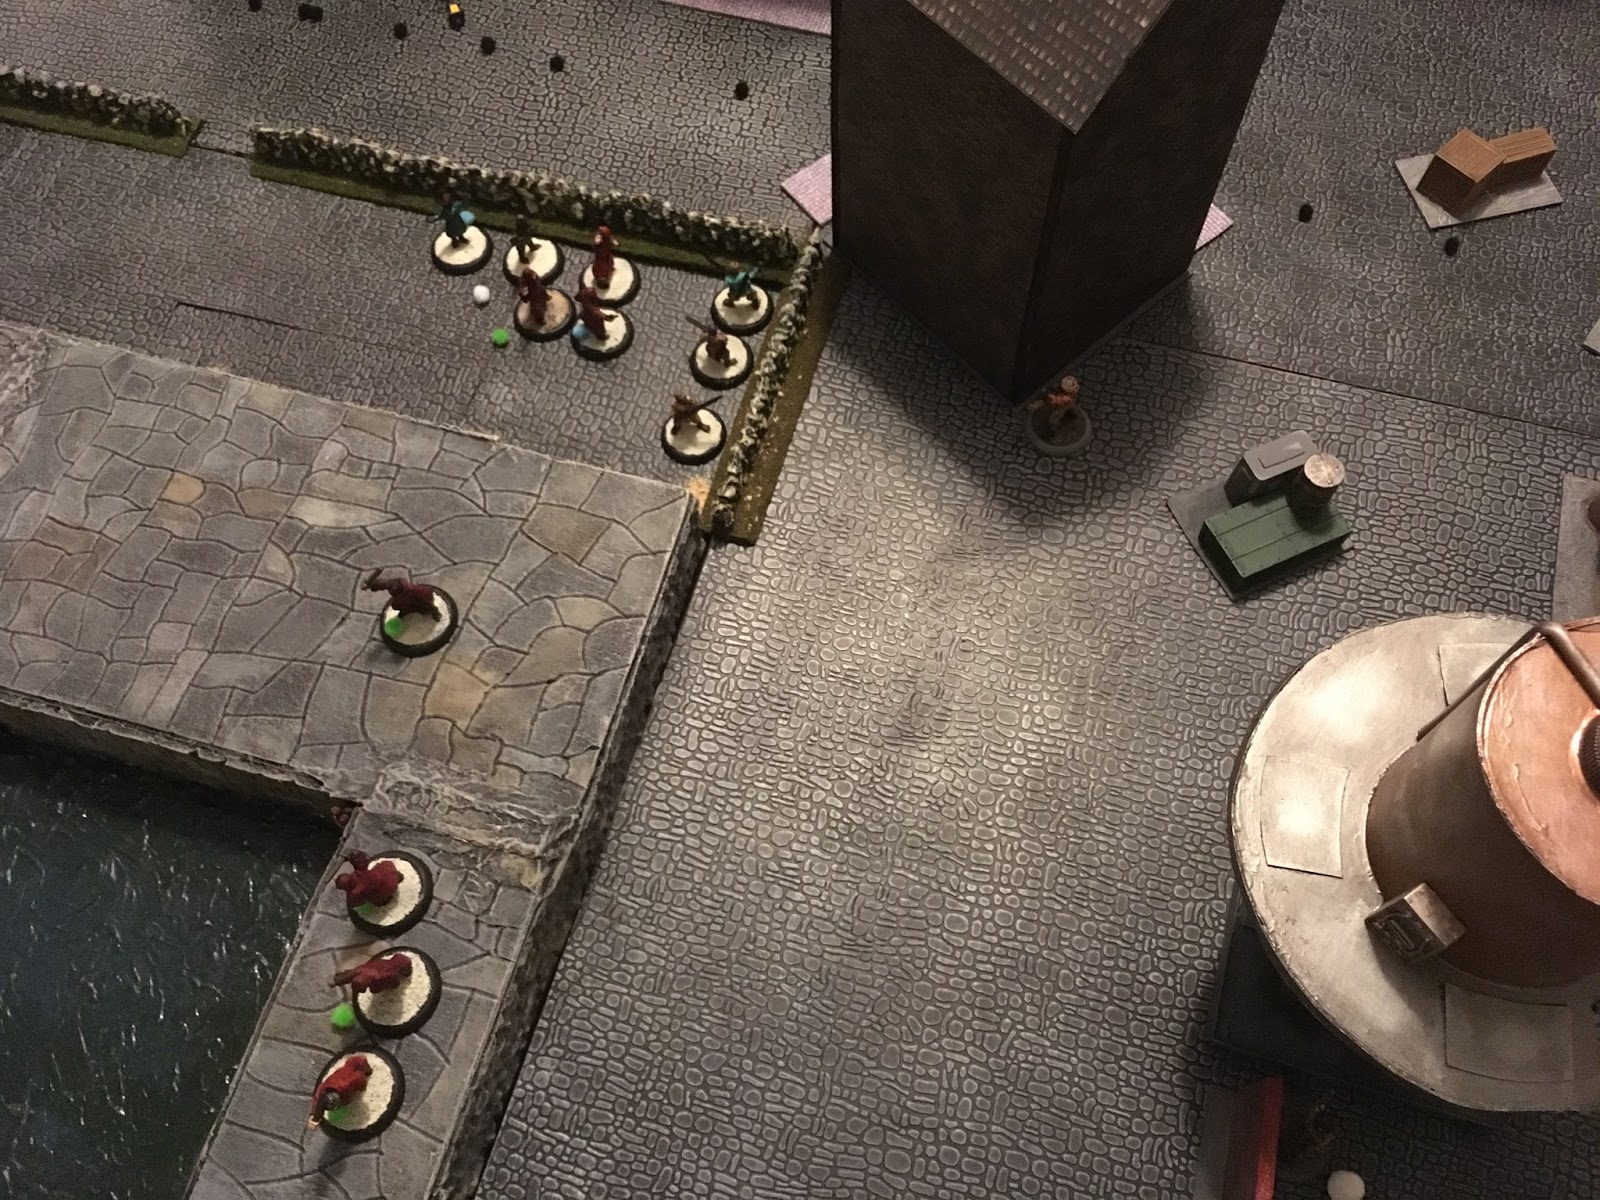
Meanwhile, the cultists and Nubians moved towards the pier.

Ahkenaton was feeling a bit rambunctious and hastily took the lead, leaving his cult followers to plug up the center.

Back in the alley, Lord Curr ordered Sgt. Borrage (not pictured) to take two of the Incorrigibles make the dash for the pier, while Curr helped Mohan with the mummy.

After some prolonged fisticuffs, the mummy beat the Blue Coat Incorrigible to death, but Lord Curr and Mohan eventually overcame the mummy by sheer weight of numbers.

Jeff and Blue Vest head towards the pier.

Meanwhile, a scramble was happening between the Nubians and the Cultists.  Four of the Cultists made a break for it, hopping onto the pier and dashing down towards the exit point.
Mohan has them in his sights...

...but the recent scrap with the mummy wore him down and his aim was off. The cultists made an amazing number of successful pluck rolls in this game!

The corner of this building, low walls, and corner of the docks was the center of the action. It featured a firefight between some nubians and the Blue Vest Incorrigible, with the close range shotgun of the nubian taking out the Incorrigible.
 ...and a swirling melee between the remaining cultists, Abir, Ahkenaton, and the nubians going back and forth within the walls of the harbor.

However, they all were so distracted by the fight that they failed to notice the swarm of locusts fast approaching... (the little black puff balls representing the advancing line of buzzing locusts)

Lord Curr, hearing the incessant buzzing, quickly ran through the industrial corridor, zapping a nubian with his Arc Rifle.


 At this point, the game was tense.  Lord Curr's company was ahead with 9 points (Sgt Red Coat Borrage had escaped around turn 3 and they had taken out the mummy and a nubian), the Nubians were in second with 4 points (two dead Incorrigibles), but the Servants of Ra were threatening to jump ahead with 20 VPs if they could get the 4 cultists off to the exit point.  So close!

Jeff cuts off the escaping cultists
Jeff noticed the mob of cultists about to escape (and score major victory points), so he ran forward and hopped up on the pier slowing them down.

The melee continued, but the locusts are getting really close and agitated. They've managed to knock over two street lamps!

Just as the hand-to-hand combat was about to reach its climax, the locust swarm overwhelmed the entire group, killing them all!
Mohan and Ambdullah attempt to run away from the locusts as fast as possible

Need better bug spray next time
 Jeff the Incorrigible took on two of the cultists, slowing them down, and broke one of his opponent's jaw with the end of his rifle stock.  Lord Curr zapped another one with his arc rifle, knocking him into the murky depths of the harbor.
Captain Ambdullah managed to take out the last cultist remaining, preventing them from scoring any points.

We called the game there - Lord Curr's company ended with a resounding victory, but it was anyone's game until the very end!

Great scenario, and super fun.

Saturday, July 22, 2017

Dutch Wash Tutorial (sort of)

After a long while, I finally got my 6mm Dutch army completed for our long awaited War of Spanish Succession project, using the Sam Mustafa "Maurice" rules.  Painting 6mm can be a challenge and I went back and forth with different methods to get a decent amount of detail, but not spend too much time.  For the final batch of figs, I settled on a much faster method that got pretty good results.  

My good buddy Rookie Wargamer is going to be fielding a Bavarian army and wanted to know what the "quick method" was - thus, this blog post.

I happened to take a few pictures while I was finishing these figs so I'll do my best to recreate the process but there are definitely a few stages missing. 

Basically - over the last few months, I've been experimenting with light primers, or grey primers with a sloppy"wet brush" of basic higlights right over the primer, then successive thin washes of the main color.  This lets the light primer/wet-brush highlights show through and provide the highlights.   This really sped up the process of getting highlights on 6mm figs.    Just slop on the color wash - no need to worry about picking out highlights on very small sculpts.    After that, pick out the rest of the details on the model, but don't worry too much about being exact.  I'll describe more about that mindset later.  

Some of the stands were already spray primed white or grey, and for those stands that weren't, I just brush-primed some Vallejo primer on.

Here's a few sticks of strips with the various primed figs.  You can see on the two grey strips on the left and right ends of the front stick that they have a little "wet brush" of an lighter off-white color to get some highlights.  Obviously, this isn't necessary for the white prime figs.

Now comes the wash stage.  Mixing the wash is a trial an effort thing - you'll know it when you get it right, so it's worth experimenting a bit because it will depend on what you're using for the mix as well as which paints (some have a heavier pigment).   The consistency you're looking for is really really thin, almost soupy.   If I had to guess, it's about a 70/30 ration of medium/color.  I used a combination of Vallejo Glaze Medium and Vallejo Thinner Medium, with whatever paint color. Mostly Glaze Medium.   Sometimes i'll add a drop or two of water as well. 
 One of the keys to mixing up the wash is having a little paint color in on a separate area of your palette, then adding it into the glaze/thinner mix in small doses.  If you add the paint right to it, you might realize that you added too much paint, then really need to thin it out more.  The soup should be heavier on medium, with just a little bit of pigment.

Here's the front and back of strips that were hit with red and blue washes.


Usually it take two coats of the wash.  You're looking for thin layers.  Sometimes you'll only need one coat if your soup wash is heavy on pigment.  Don't worry too much about pooling - just let it dry and see what it looks like after.  Try not to overreact when you first apply the wash. It will look darker than you expect.  Once it dries the highlights will show through.
 I remember this wash was a little too heavy on color, but still worked out ok.   Another thing to consider is that with 6mm figures there is not a lot of surface area of the model to catch light. So you need to go with shades of color that are a little lighter than you expect otherwise the figures look really really dark.

Details: At 6mm, you don't need to be concerned about getting every strap, buckle, belt, or whatever on the model. You just want to give the "idea" of the major details.   So pick out hands and faces (blobs of flesh is ok), cuffs are important, so blob on bits of color for the cuffs/facings, maybe the neck cloth, basic straps, gun stock, and hair. That's really it.  It's a mindset to keep in mind - don't focus on painting each soldier because they're just too small.  At 6mm, you're going for the "effect" of units.  Once you get that mindset down, you can start cranking out units on the painting table.

Ok, back to the process - at this point, the figures look ok, but they can look a little flat.  To get a richer shade, almost a black-line affect, I learned a trick from Le Coq Fou: apply a gloss varnish at this stage, then apply an ink shade.  Once the gloss varnish cures, the glossyness will allow the ink shade to settle into all the cracks and crevices of the model and give you a nice dark shade.  It leaves the lighter colors the same and doesn't tint the model.  If you used a matte varnish (or no varnish), some of the shade/ink would remain on the rest of the figure which you can see below.

These pictures show stands with different ink techniques I was trying before settling on what I liked.  From left to right: no ink; varnish with brown ink (Army Painter Strong Tone); varnish with blank ink (GW Nuln Oil); and brown ink with no varnish (you can see how it stained the figure, leaving a dirty look).

Same stick just flipped to the back.

I settled on the Nuln Oil for the rest of the units.  Another important tip: don't get impatient with the varnish.  Apply it, and let it cure for 24 hours otherwise the ink will seep through.  Trust me, i tried to speed it up and it didn't work.  I used GW 'ardcoat Gloss Varnish and brushed it on, but that got a little tedious.  I think in the future I will buy a can of Testor's Gloss Varnish and just spray it on.  However, since the whether was poor when I was working on these the brush varnish allowed me to continue without having to wait for good outdoor spray weather.  Humidity is your enemy with aerosol spray - anything lower than 70% is fine.

Obviously hat and hat lace is important for units in the Age of Marborough, so spend a little time on the hat lace.
hat lace
At this point, the strips were done.  I popped them off the popsicle sticks, and for these units I clipped some of the individual figures from the strips and arranged them into the formations i wanted on the MDF bases.

Final shots of the completed infantry, artillery, and command units.


The last batch was cavalry...lots of cavalry...
 Here are some sticks pre varnish/ink stage.   For the horses, I went with either brown soupy wash, or Vallejo red leather for the soup wash.  Then I hit them with AP Strong Tone to give the brown on the horses some richness and depth.  A few horses I painted grey/white.
After all the details were complete, I repeated the gloss varnished and blank inked process like the infantry, to get that dark shading on entire model.
 Completed cav units.

And here's the entire Dutch army complete.  I will need to buy a few English units to sprinkle in as Marlborough was in command of most of the Grand Alliance armies and the Dutch rarely fought by themselves.   This army is roughly 200 points in Maurice (I think).