My good buddy,
Rookie Wargamer, had recently painted up some nice scenery and a small sheep, so the gears immediately started turning about a possible scenario...
We really like to use Age of Sigmar rules with the Old World setting: "AoS in the Old World". That's the setting I used for this game.
Background:
A peasant farmer in the Empire province of Lietzburg has accidentally discovered what appears to be some ancient elven ruins on the edge of his property. However, the nearby elf lord has also learned of the discovery and has dispatched a force to go reclaim the long missing family heirlooms, as well as conduct an honor killing of the farmer for desecrating the sacred ground. The elves will also make use of some Lizardmen allied detachments. The farmer is obviously concerned for his safety but, ever the pragmatist, is equally concerned about his livestock. So he has demanded that his lord Baron Edmund come repel the elven force and ensure the safety of his livestock.
Objective:
Both forces must control the elven ruins, as well as the farm.
Major victory: have the most models within 6 inches of the ruins AND the farm.
Minor victory: control only one of the objectives as described above.
Starting on turn 3, at the end of any Battle Round, if a player holds all objectives as described in "major victory", the game ends immediately. Otherwise, game ends after turn 5.
Special conditions for Empire player: since the peasant farmer has requested aid of his lord, and also his livestock, the Empire player must ensure the safety of the herd, too. Starting in turn 2, roll a die. On a 6, the sheep has escaped and moves randomly. Roll 2D6 and select highest for distance. In order to win Major Victory, the Empire player must control both objectives, AND have at least 3 models within 3 inches of the sheep, and have more models than opponent within 3 inches of the sheep.
The sheep can't be killed. Only one sheep moves, the other animals are just for scenery.
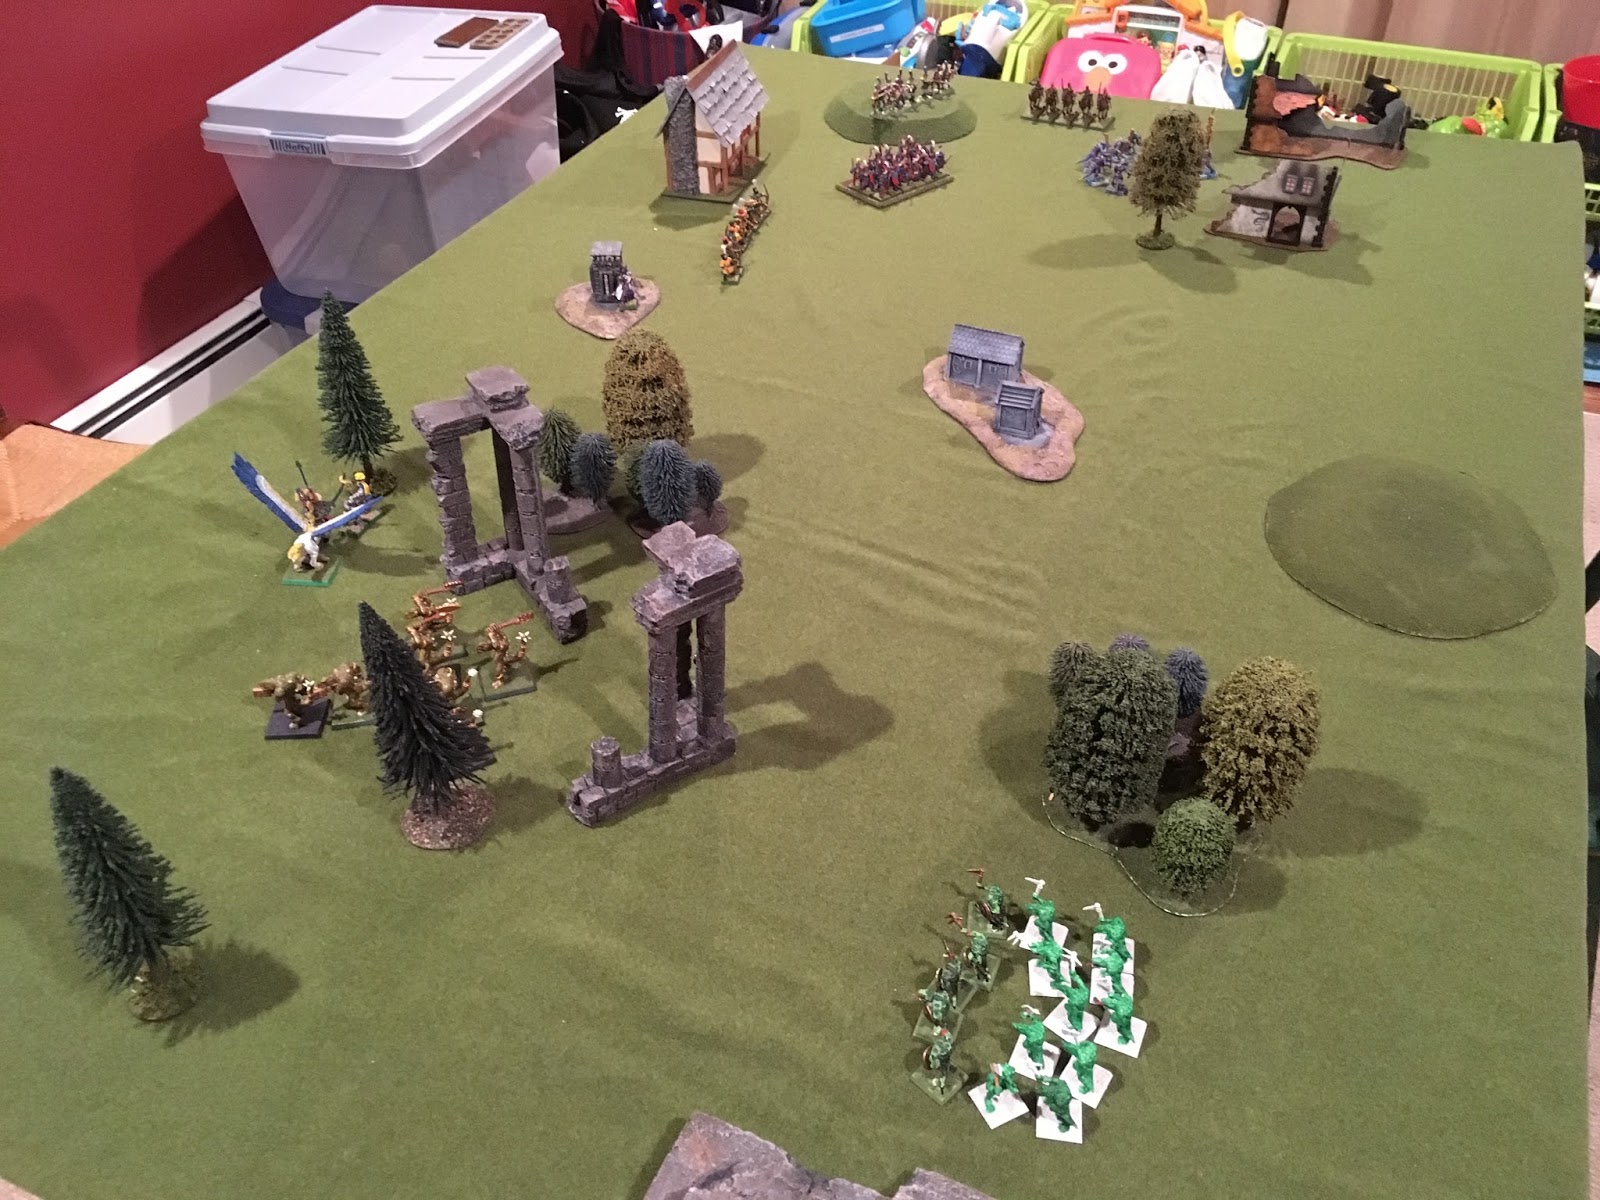
With that, deployment!
We used the collection of barrels in the corner of the livestock pen to represent the "control the farm" objective.
We used this nice new piece of scenery, the statue obelisk thing, to represent the discovered elven ruins in the (also new) rocky outcrops.
The sheep mounted on the bases is the one able to get loose...
Lord Edmund, deployed at edge of farm. Halberds in the crop field. Behind the farmhouse, the small unit of Lord Edmund's personal guard (greatswords) have deployed as a reserve.
Swords and Pistoliers.
High Elf spears and archers have already breached the outer crop field.
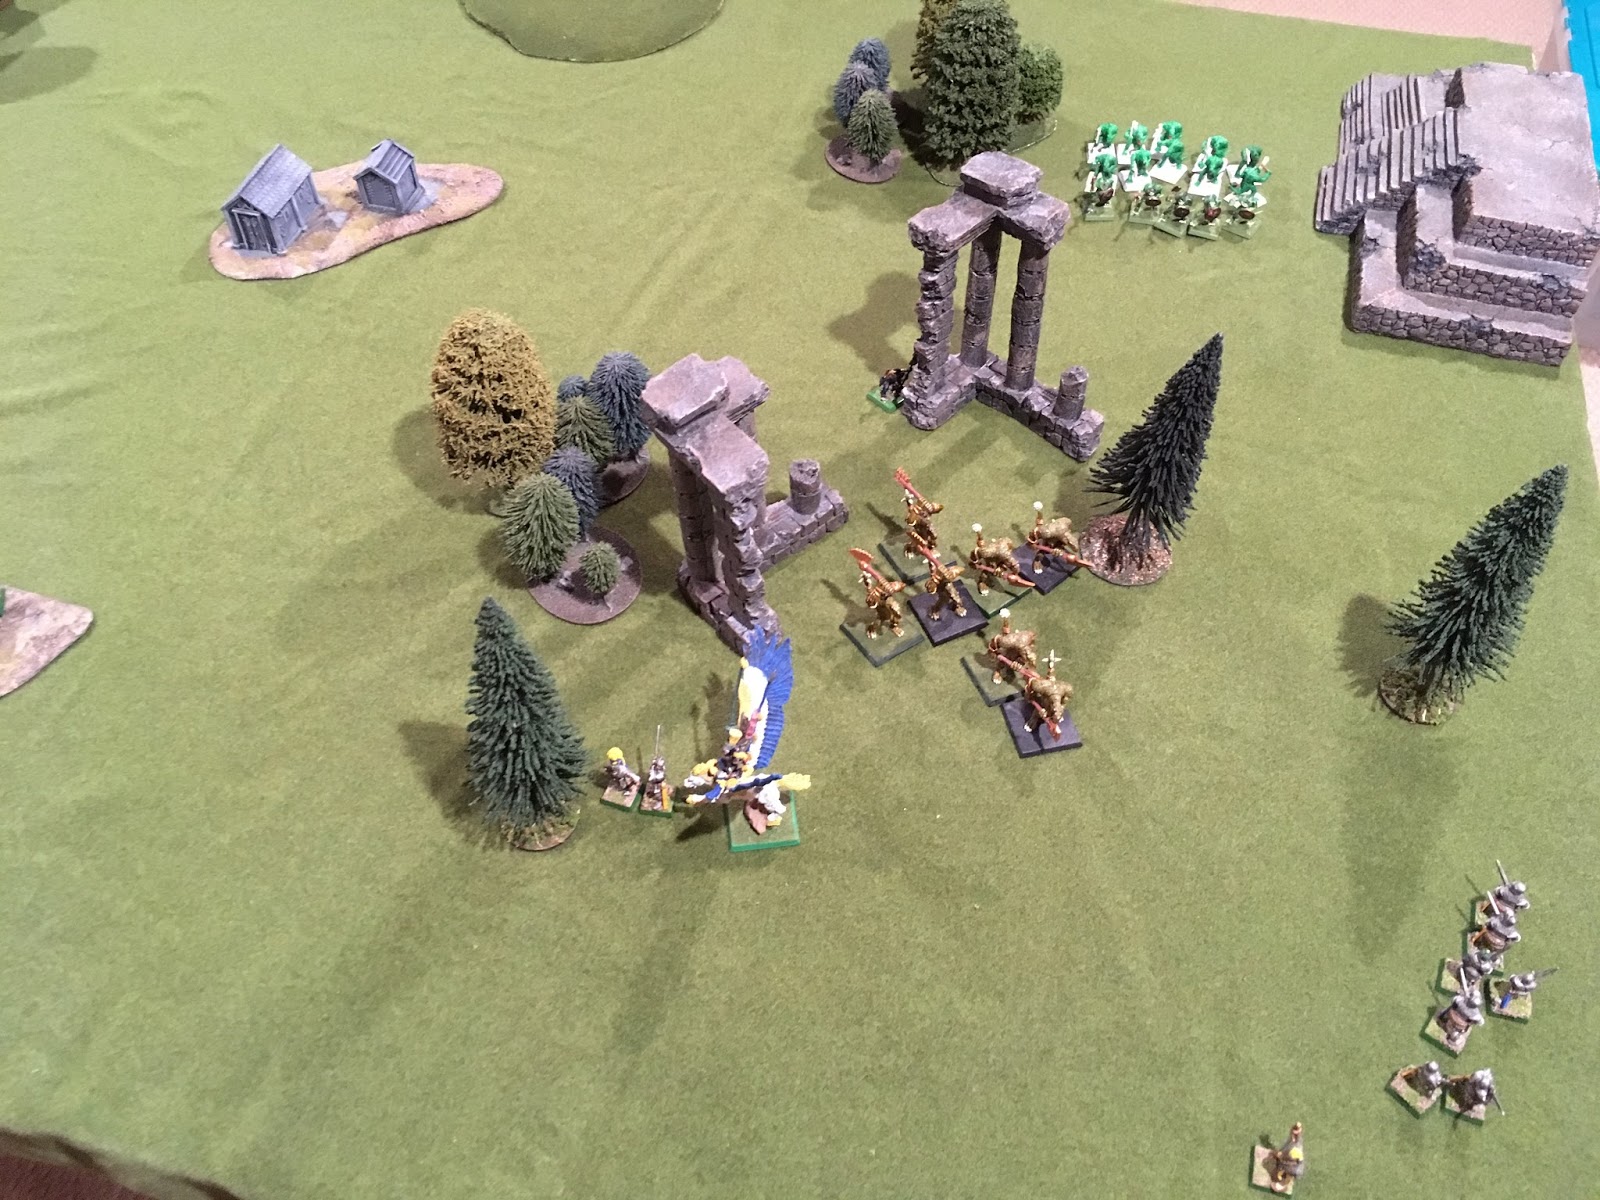
Kroxigors in the center, looking menacing and generally irritable.
Small unit of saurus deployed on the Allied left flank to threaten the elf ruins.
The Elf Lord, sporting a nice new paint job.
The battle has begun. Pistoliers advance and decimate the saurus after the crossbows do their work.
The allied line surges foreward
Despite some taunts and jeering from the Allied commanders, Lord Edmund takes up position behind the wall, prepared to bring his considerable skill to bear at the critical point...
The Elves unleash their arrow storm fury, ripping the halberds to shreds. The farmer hears the commotion and quickly retrieves his old and battered halberd off the mantle above the fireplace and runs outside to lend a hand. It's been years since he retired from the state troops unit but he still remembers how to get in formation.
The Allied line crashes into the Empire line.
The sheep has gotten loose! The farmer will be asking for steep reparations...
Swordsmen hold firm, securing the elven ruins.
Not many crossbows left, they try in vain to fend off the Reavers.
The kroixgors make short work of the pistoliers
Seeing the left flank and farm about to collapse, Lord Edmund charges into the advancing spearmen, scattering the sheep.
The lizards surround the swordsmen
After finishing off the crossbows, the Reaver Knights leap through a collapsed section of the ancient wall, attempting to surround the swordsmen
Not looking good for the swordsmen with the swift Reavers dashing to the rear
Upon seeing their lord engaged in combat, the personal guard charge into the spearmen cutting a number of them down.
At this point, we forgot to take more pictures. But basically, it was turn 3 and the battle hung in the balance. The allied flank had totally decimated the Empire right flank around the elven ruins and had total control of that objective. The Sheep was loose and the Empire did not have enough units left to go chase him down, so there was no way for them to win. However, they could still force a tie and the greatswords unit almost pulled it off. They had nearly tipped the scales in the melee in front of the farm, but it wasn't quite enough. The Empire side conceded victory to the Allied forces.
It was a really fun game, and I think the very brief background story and simple scenario brought the game to life. Fully painted armies and decent scenery made a huge difference as well.