I can't remember which issue, but back in the late 90s/early 2000s, GW ran a linked campaign of scenarios that included a game where a rear-guard was left behind to hold a bridge long enough to allow the main body of a retreating army to get away. It's totally unbalanced, but with the new flavor and narrative style of Age of Sigmar, this version of the game really lends itself to replaying the scenario than the previous versions of Warhammer.
So...we set it up. It was a 3-player battle - myself, Rookie Wargamer, and our buddy that normally plays the Lizardmen. There was a small Empire force (including a random Kroxigor) deployed on and around the bridge, and needed to hold off against an orc and goblin army, under the...sway...of a Chaos Lord. The armies were divided into 3 commands: 1 person would take the Empire, and the greenskin army was split into two.
We didn't bother defining a real objective or worry about who was gonna win. We basically decided at the end of each turn we'd take a look and make a call on whether the Empire had held long enough or if the greenskins had crossed the bridge or held enough strategic ground to say that they had overrun the defenders. We didn't even calculate points with the Generals Handbook: we just tried to make sure the greenskins outnumbered and outmatched the Empire. Basically, the Empire knew they were going to die, they just needed to hold up the enemy as long as possible.


Waiting for the green wave to crash on the bridge

Here they come...


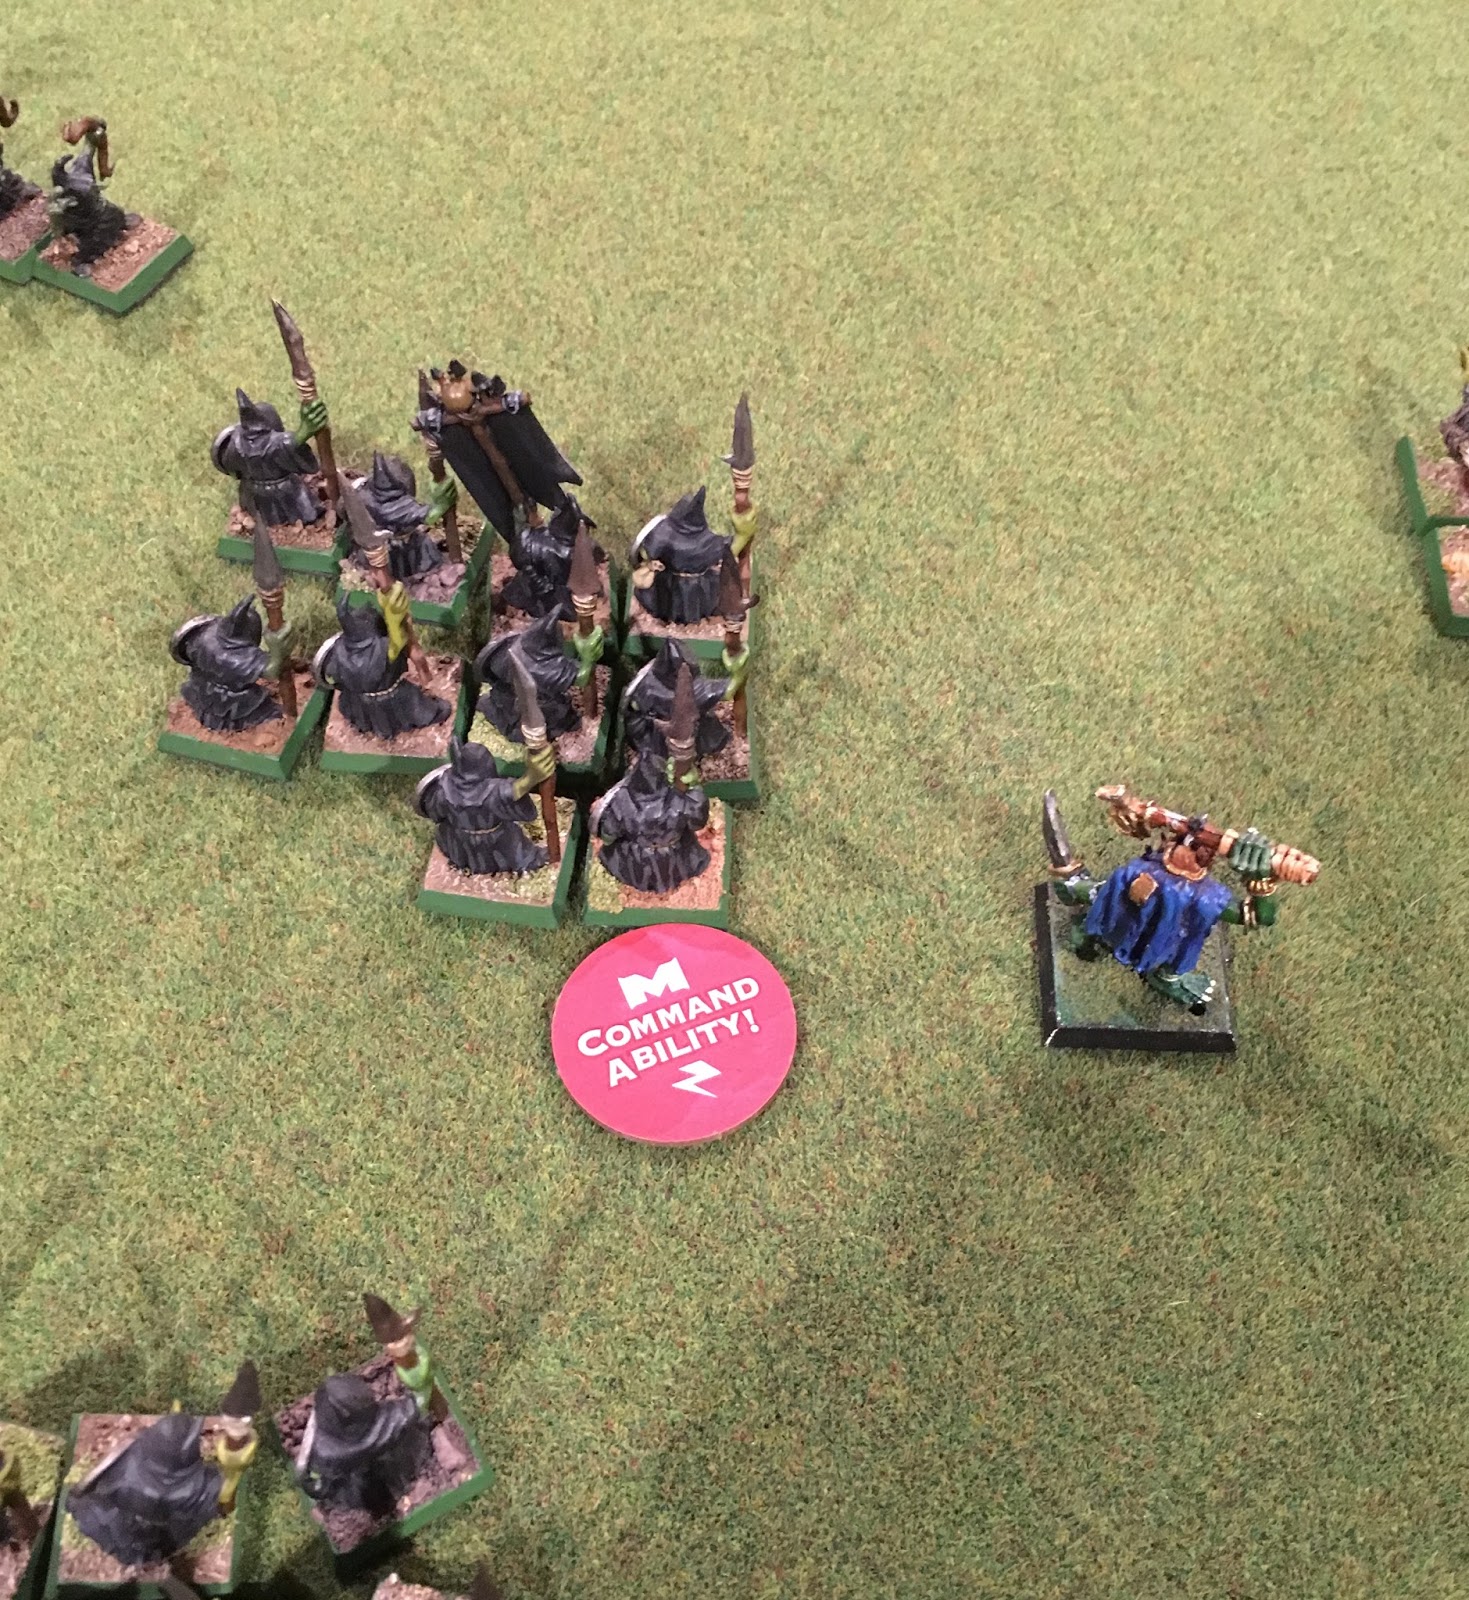
The Chaos Lord mustering his force...

Overlooking the advance

Halberdiers in view.

First turn...the doom diver aim wasn't quite calibrated yet...

Mortal Realms Podcast tokens come in handy.
The Orc Shaman continued to zap the front line bridge defenders with Gaze of Mork, and the Doom Diver eventually hit the Kroxigor and the halberdiers. The goblin spears charged the weakened halberdiers and eventually destroyed them leaving a gap on the bridge. In keeping with spirit of the scenario, the Empire general continually used his "Hold the line!" command ability which gave a unit a bump in to-hit and to-wound rolls.
This was where the strategic error of the game was made: the gap on the bridge was too enticing, and the goblin unit was used to charge the swordsman who were also on the bridge - but the goblins didn't have enough punch break through. Combat bogged down and there was no room for additional units (like the Black Orcs or regular Orc Boys). It quickly became apparent that goblin spearman would need to retreat from combat to make room for more powerful units, or the game would be over...

The Chaos Lord realizes his mistake and takes matters into his own hands.


Combat went back and forth a few rounds with a lot of misses and no wounds...

Eventually - the Empire General took down the chaos lord, impaling him with his sword!

It was a really fun game. AoS continues to shine in smaller sized games (the largest unit on the board was 8 models). Most of the units were small, consisting of only 5 figures.
Very nice game!
ReplyDeleteGreat scenery, figures and photos....really make the battle report come to life!
ReplyDelete